
Written by
Yuri ZhangSummary: This post expounds on a step-by-step BitLocker data recovery tutorial to recover deleted or lost files from BitLocker encrypted drive in concrete methods including professional deleted file recovery software in Windows.
BitLocker drive went wrong? Recovering the deleted or lost files from it can be feasible. I put a real instance here, do you think that there is a solution in the case of a computer user, says as follows:
I have a Bitlocker(Windows 7 version) encrypted drive with a lot of data. Accidentally I deleted a few files in it. I really want it back and there is no other copy. I tried normal recovery software and they won't work on the BitLocker encrypted drive. Is there any way to recover deleted files from the BitLocker encrypted drive?
The answer is Yes. This post will teach you how to recover deleted or lost files from BitLocker-encrypted drive.
How to recover files lost from BitLocker encrypted drive?
Data recovery is a complicated case and time-consuming job, so we list the common deleted files data loss cases so that you can find the correct solution to recover your data quickly and easily.
Restore deleted files from Recycle Bin
If you simply deleted files by moving them to the Recycle Bin and didn't execute "Empty Recycle Bin" operation, you can restore deleted files with ease.
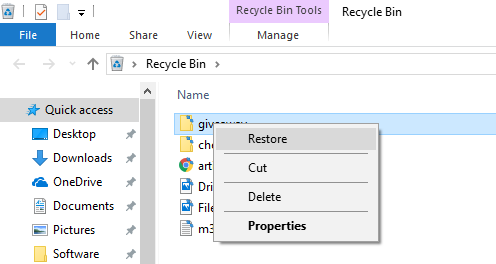
Step 1: Open the Recycle Bin on your desktop.
Step 2: Locate and right-click the files you want to restore and choose "Restore", the deleted files will be restored to their original location.
Note: If you have emptied the Recycle Bin, the recovery work is not easy. When a file is deleted from your computer and emptied from Recycle Bin, Windows just deletes file entry and marks the disk space as being available for new files writing. If the deleted files are not overwritten, you can restore them with a file recovery software, but the BitLocker data recovery process varies, depending on the specific data loss environments.
Use Windows File Recovery Tool
If the drive is unlocked but files are missing, you can use Windows File Recovery, a command-line tool provided by Microsoft, to attempt recovery. Install the tool from the Microsoft Store and run it using the appropriate commands depending on the type of recovery you need (e.g., winfr C: D: /n \path\to\file).
Recover deleted files from C: drive encrypted by BitLocker
C: is the operating system drive. Since you start your computer, the C drive will be written with new data. So the deleted file recovery results depend on whether these lost files have been overwritten or not. Once they are overwritten, the recovered files will be corrupted and you cannot open them.
You can try unlocking the drive by opening File Explorer, then locate the drive, and attempt to unlock it by entering the BitLocker password or using the recovery key.
Note: Ensure you have the BitLocker recovery key or password, Without any of them, it is virtually impossible to decrypt and access the recovered files.
Share this and take these suggestions into account with others.
Tutorial to recover lost files from C: drive with iBoysoft Data Recovery
If the above methods cannot help, and you want to recover your files readily without further ado. Please go directly to data recovery software- iBoysoft Data Recovery for Windows, which supports BitLocker data recovery, and has proved useful during an emergency.
Step 1: To avoid overwriting the lost files on C: drive, first download and install iBoysoft Data Recovery on another drive.
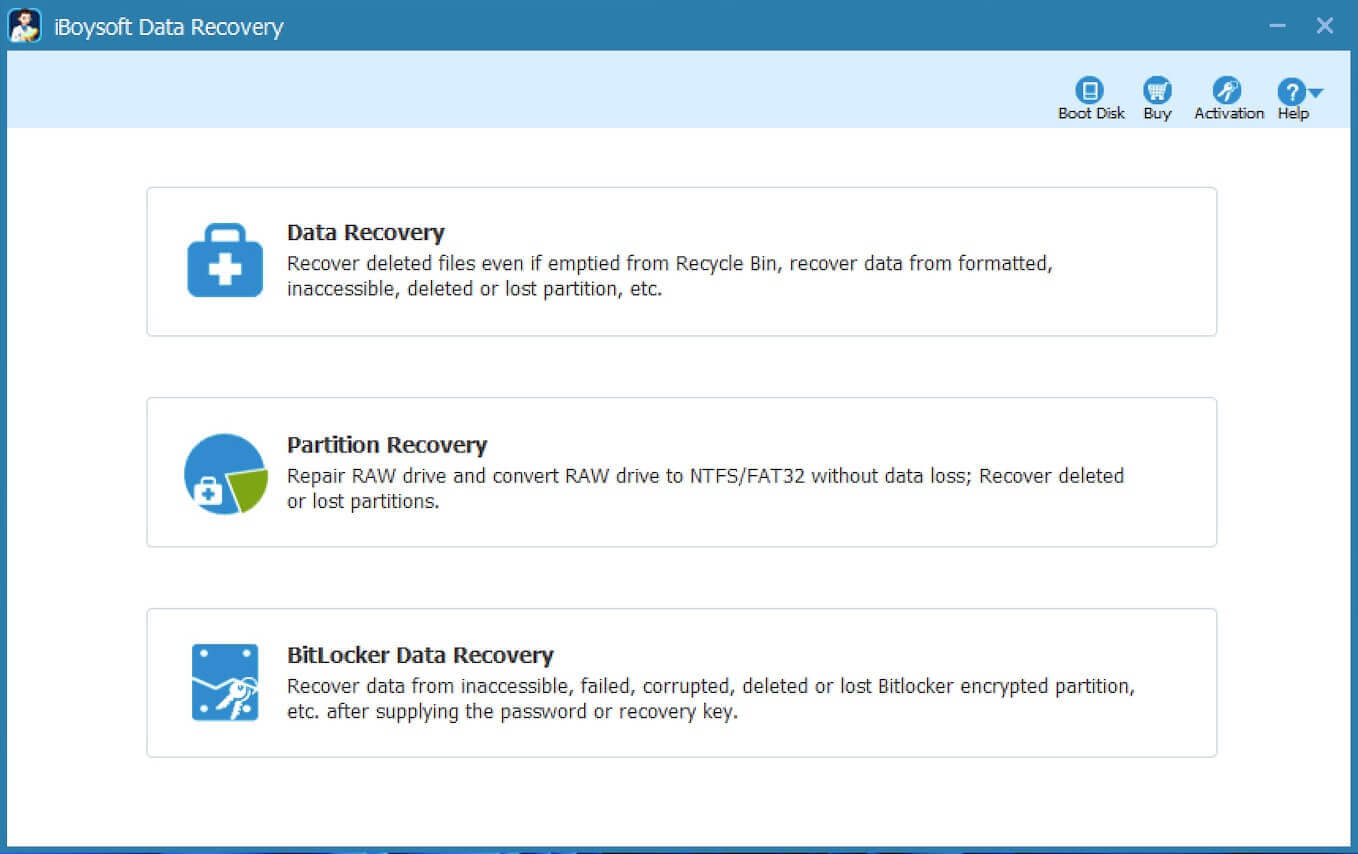
Step 2: Launch iBoysoft Data Recovery and choose "Data Recovery" module on the main interface.
Step 3: Select the C: drive and click Next to scan the lost files.
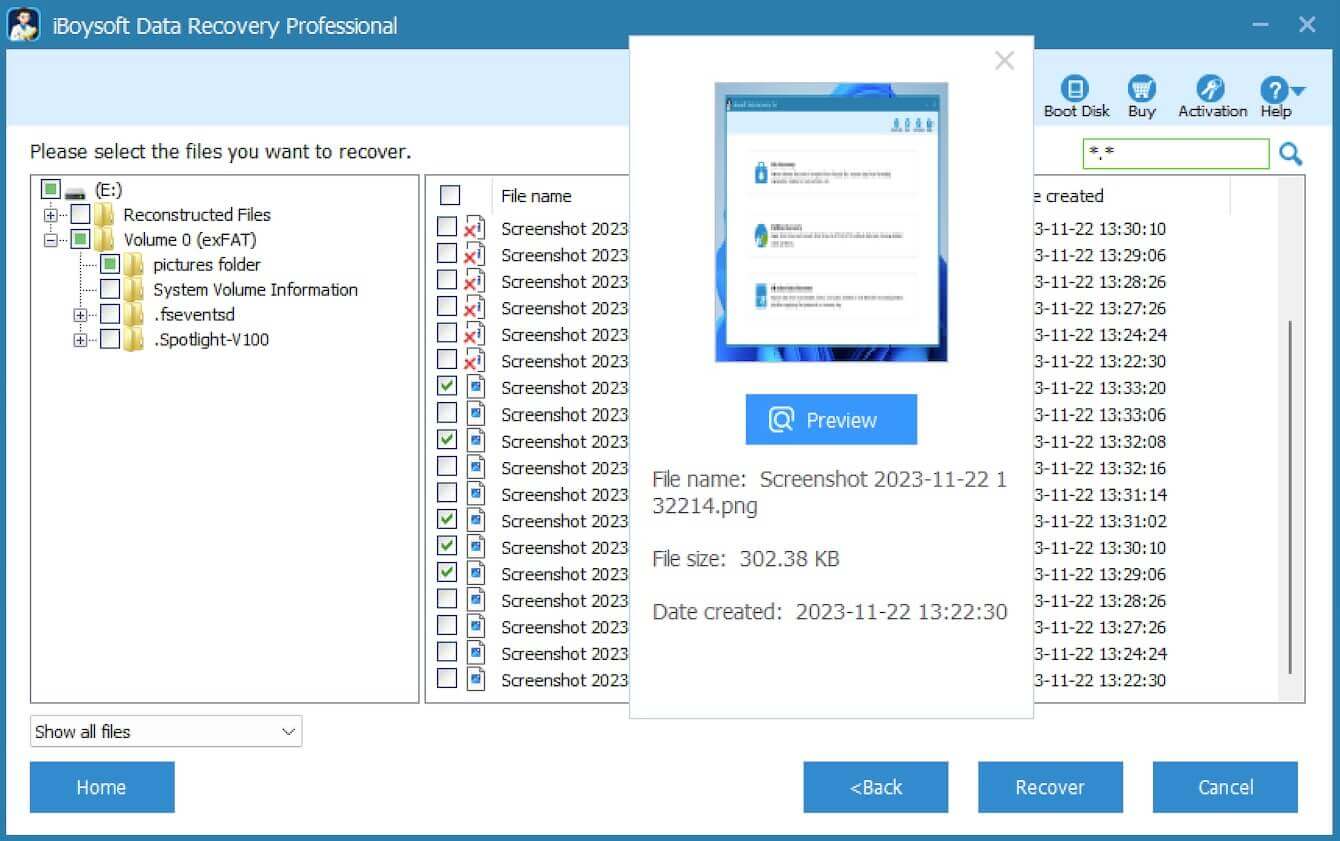
Step 4: After your deleted files are found, preview the documents, photos and play the videos, audios to see if your lost files are recoverable.
Step 5: Choose the files you need and then click Recover to start recovery.
Tutorial to recover deleted files from BitLocker encrypted drive
Data drive is different from C: drive where the operating system. Generally speaking, the deleted files won't be overwritten until you write the new files. So you need to start the data recovery job ASAP after realizing some files were mistakenly deleted.
Step 1: Download and install iBoysoft Data Recovery on your computer.
Step 2: Launch iBoysoft Data Recovery and choose BitLocker Data Recovery module.
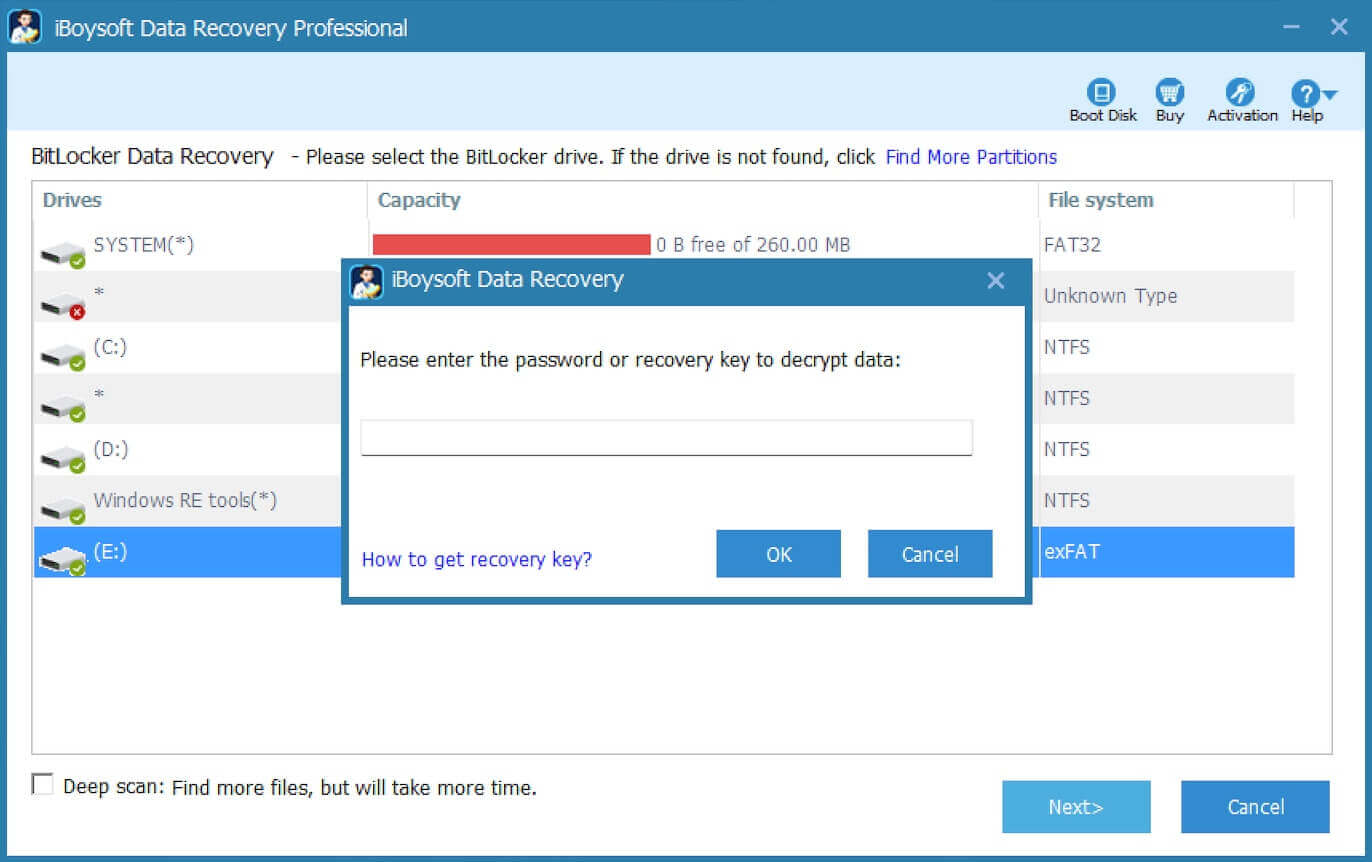
Step 3: Select BitLocker encrypted drive and click Next to continue.
Step 4: Enter the password or 48-digit recovery key and click Ok to scan the deleted files.
Step 5: After all your files are found, preview the documents, photos and play the videos, audios to see if your lost files are recoverable.
Step 6: Choose the files you need and then click Recover to start recovery.
Recover deleted files from SSD encrypted by BitLocker
Most laptops install a built-in solid-state drive (SSD) for fast read and write speed. However, we think you don't know the fact below:
Windows 7 and later versions are set to automatically enable TRIM on SSD. When TRIM is enabled, Windows will send an instruction to your solid-state drive every time you delete a file. The solid-state drive can then automatically erase that file's contents so that they cannot be recovered by data recovery software.
How to check if TRIM is enabled for your SSD:
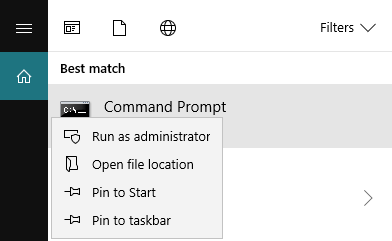
Step 1: Type cmd in the search bar of the Windows Taskbar.
Step 2: Right-click on cmd.exe and choose Run as Administrator to run the command prompt.
Step 3: After seeing the Command Prompt window, type fsutil behavior query DisableDeleteNotify and then press Enter.
Step 4: You'll see one of two results: DisableDeleteNotify = 0, TRIM is enabled; DisableDeleteNotify = 1, TRIM is disabled.
Share this post and apply this know-how for your benefit.