Written by
Yuri ZhangSummary: This article presents a deep dive into preparing BitLocker recovery including real instances like Dell, HP, and ASUS. We especially offer solutions to the loop/stuck issue when preparing BitLocker recovery.

When managing encrypted drives with BitLocker, ensuring every one of us has a reliable recovery plan is crucial to prevent data loss in case of forgotten passwords, lost keys, or hardware changes.
We stress the importance of suspending BitLocker before performing major updates or hardware changes to prevent unnecessary recovery prompts. By following these steps and using the tools provided by each device manufacturer, we can effectively prepare for BitLocker recovery, ensuring we maintain access to our encrypted data.
Overview of preparing BitLocker recovery
Preparing for BitLocker recovery refers to the process of ensuring that we have everything in place to regain access to a BitLocker-encrypted drive. It involves several key actions:
1. Backing up the BitLocker recovery key. The most critical part of preparation is securely backing up the BitLocker recovery key. This key is essential to unlocking the encrypted drive if normal access methods (like your PIN or password) fail.
2. Understanding when you might need the recovery key. Recognizing situations that could prompt BitLocker to ask for the recovery key, such as hardware changes, BIOS updates, or system integrity issues.
3. Testing and storing the recovery key. Ensuring the key is stored in multiple secure locations (like your Microsoft account, a USB drive, or a physical printout) and can be easily retrieved if needed.
4. Suspending BitLocker before major changes. Temporarily suspending BitLocker encryption before making significant system changes to avoid triggering a recovery prompt.
So, preparing for BitLocker recovery is primarily about being ready to recover access to our encrypted data by having the recovery key backed up and knowing how to use it if necessary. It's not about recovering the encryption itself, but rather about ensuring we can unlock and access our encrypted data in case of an emergency.
Share this since it is worthy to know in priority.
How to prepare BitLocker recovery
Proper preparation ensures that we won't be locked out of our data, even if something goes wrong with the drive or system. Here's how you can prepare:
1. If you're using a Microsoft account to log in, your recovery key may be automatically saved. You can check by visiting the Microsoft account recovery key page. You also can save the recovery key to a .txt file and store it in a secure location, such as an external drive or a USB stick. If you prefer a physical backup, you can print the recovery key and store it in a safe place.
Note: Make sure you have multiple backups of the recovery key in different locations. This could include cloud storage (with strong encryption), a password manager, or physical storage like a safe.
2. To ensure that your recovery key works, you can temporarily lock the drive and then unlock it using the key. This step can be risky if you don't have the key properly backed up, so proceed with caution.
3. You can use the Command Prompt to find your BitLocker recovery key. Open Command Prompt as an administrator and enter (Replace "C:" with the letter of the drive you want to check. This will show you the recovery key ID and the key itself if it's been saved):manage-bde -protectors -get C:4. Regularly update Windows and your BIOS to minimize the chances of being locked out of your BitLocker-protected drive due to software issues.
5. If you're planning significant changes to your system (like a Windows reinstallation), you might want to temporarily disable BitLocker to avoid complications.
Guide to prepare BitLocker recovery on Dell, HP, ASUS devices
BitLocker is a powerful encryption tool built into Windows that helps protect your data. However, certain events—like hardware changes, BIOS updates, or system errors—can trigger the BitLocker recovery screen, requiring us to enter a recovery key to regain access to your encrypted data. Preparing for this possibility is crucial, especially for users of Dell, HP, and ASUS devices, which have unique tools and settings that interact with BitLocker.
General preparation for BitLocker recovery
Before diving into device-specific guidance, it's essential to cover the basics of BitLocker preparation that apply to all devices: Ensure your BitLocker recovery key is backed up securely. Before performing major updates or hardware changes, temporarily suspend BitLocker to avoid triggering a recovery prompt.
Preparing BitLocker recovery on Dell devices
Dell devices come equipped with tools like Dell SupportAssist and potentially Dell Data Protection (DDP) software, which can help manage your system's encryption settings.
- Ensure Secure Boot is enabled in your Dell BIOS/UEFI to avoid unnecessary BitLocker prompts. You can access these settings by pressing F2 during startup.
- Use Dell SupportAssist to keep your system drivers and BIOS updated. Always back up your BitLocker recovery key before applying any updates.
- If your device uses Dell Data Protection, it might automatically manage your BitLocker keys. Verify where your recovery key is stored, and make sure you can access it if needed.
Preparing BitLocker recovery on HP devices
HP devices often include tools like HP Support Assistant and unique security features like HP Sure Start, which interact with BitLocker.
- Access your BIOS by pressing Esc and then F10 during boot. Make sure Secure Boot is enabled, and the TPM (Trusted Platform Module) is properly configured, as both are crucial for BitLocker.
- Regularly use HP Support Assistant to keep your system updated, including BIOS and firmware. Remember to have your BitLocker recovery key backed up before performing updates.
- Be aware of HP Sure Start, which protects the BIOS but might prompt BitLocker to request the recovery key after it corrects potential issues. Have your recovery key ready when using HP Sure Start features.
Preparing BitLocker recovery on ASUS devices
ASUS devices often come with the MyASUS app and feature like Armoury Crate for gaming laptops, which can influence BitLocker behavior.
- Enter the BIOS by pressing F2 or Del during startup. Ensure Secure Boot is enabled and the TPM is activated. These settings help BitLocker function properly.
- Utilize MyASUS application to manage system updates and settings. Always ensure your recovery key is backed up before using MyASUS to apply BIOS or firmware updates.
- If you have an ASUS gaming laptop, Armoury Crate might offer system management features. Use it for updates, but always secure your recovery key beforehand.
Share these knacks to help PC users worldwide.
How to fix preparing BitLocker recovery loop/stuck
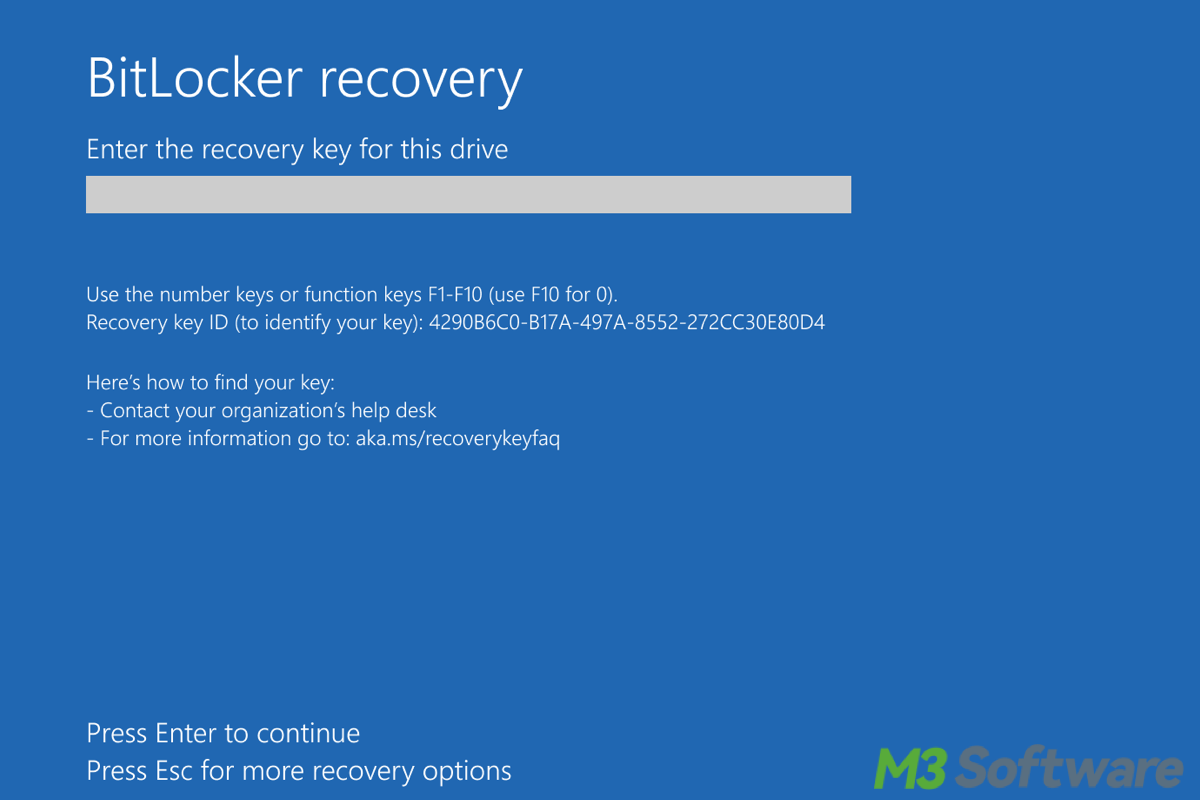
If you're dealing with a BitLocker recovery loop or getting stuck in the recovery process, it means that your device is repeatedly asking for the BitLocker recovery key even after you enter it. Here's how to address this issue:
Solution 1. Enter the correct recovery key. If you have multiple keys, ensure you're using the right one.
Solution 2. If you've recently changed hardware components (like a hard drive or RAM), it might be triggering the recovery loop. Revert any changes if possible, or try re-seating components.
Solution 3. Disconnect all external devices (USB drives, external hard drives, etc.) and try again. Sometimes, external peripherals can cause conflicts.
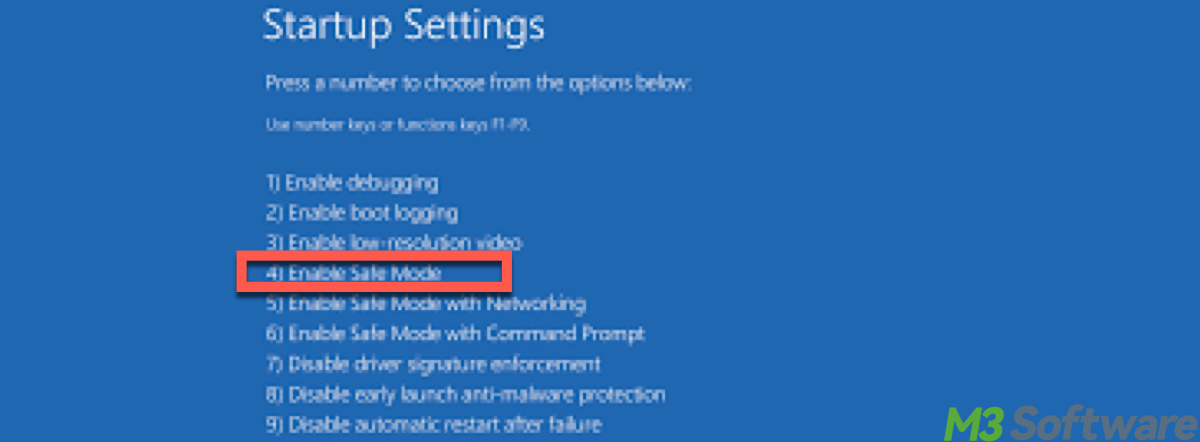
Solution 4. Try booting your computer in Safe Mode. If you can access Safe Mode, it might help bypass the recovery loop temporarily and allow you to troubleshoot further. Here are the steps to enter Safe Mode:
- Restart your computer.
- Press F8 (or Shift + F8 for some systems) repeatedly as it boots.
- Choose Safe Mode from the Advanced Boot Options.
- Open Command Prompt as an administrator.
- Type sfc /scannow and press Enter or type chkdsk C: /f /r (replace C: with the drive letter of your system drive if different) and press Enter.
- If prompted to schedule a scan on the next restart, type Y and press Enter.
- Once you've finished troubleshooting, restart your computer to exit Safe Mode.

Solution 5. Make sure Secure Boot is enabled in your BIOS/UEFI settings. Disabling or enabling Secure Boot might resolve the issue and ensure that the TPM is enabled in the BIOS/UEFI. BitLocker relies on TPM, and any changes here can cause a recovery loop. Here's a shorter guide to enable Secure Boot:
- Restart your computer and enter the BIOS/UEFI by pressing the key indicated during startup (e.g., F2, F10, F12, Delete, or Esc).
- Go to the Boot or Security tab in the BIOS/UEFI settings.
- Locate and enable Secure Boot.
- Save and exit the BIOS/UEFI (usually with F10).

Solution 6. If you've recently updated your BIOS/UEFI, check if there's a newer version available or try rolling back to the previous version. Sometimes, new firmware can cause conflicts with BitLocker. Resetting the BIOS/UEFI settings to default can sometimes resolve issues caused by incorrect configurations.
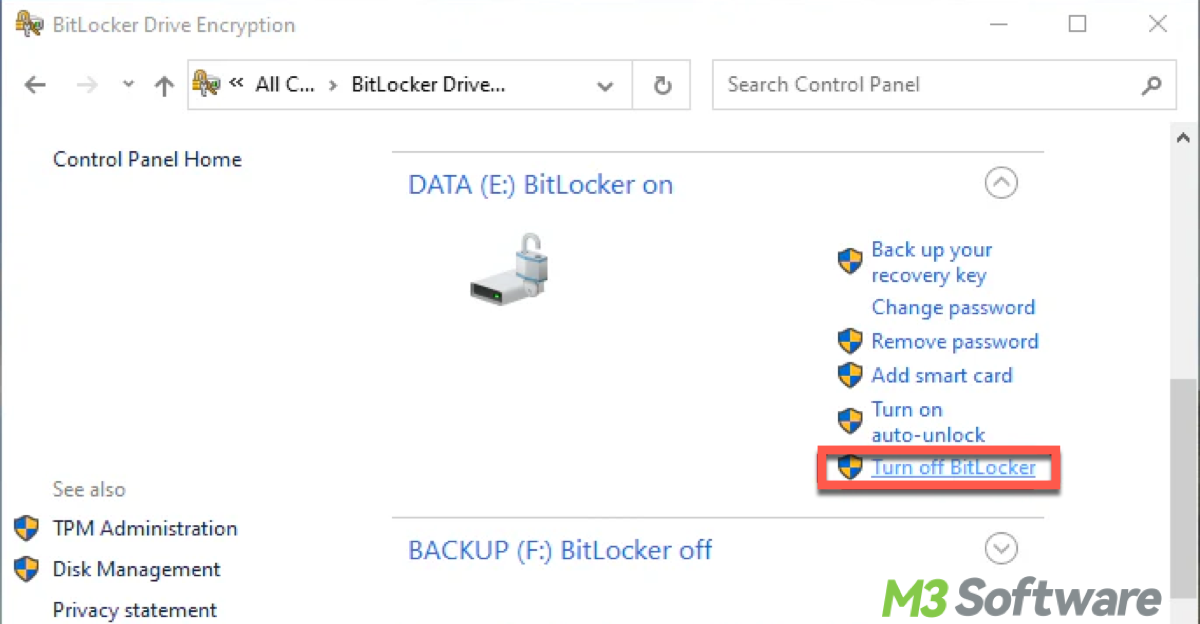
Solution 7. If you can boot into Windows after entering the recovery key, suspend BitLocker temporarily:
- Go to Control Panel > BitLocker Drive Encryption.
- Click Suspend protection and follow the prompts.
- If suspending doesn't work, you might need to decrypt the drive by disabling BitLocker entirely to select Turn off BitLocker.

Solution 8. If you have a system image or restore point from before the problem started, you can restore your system to that state. This might help you bypass the recovery loop.
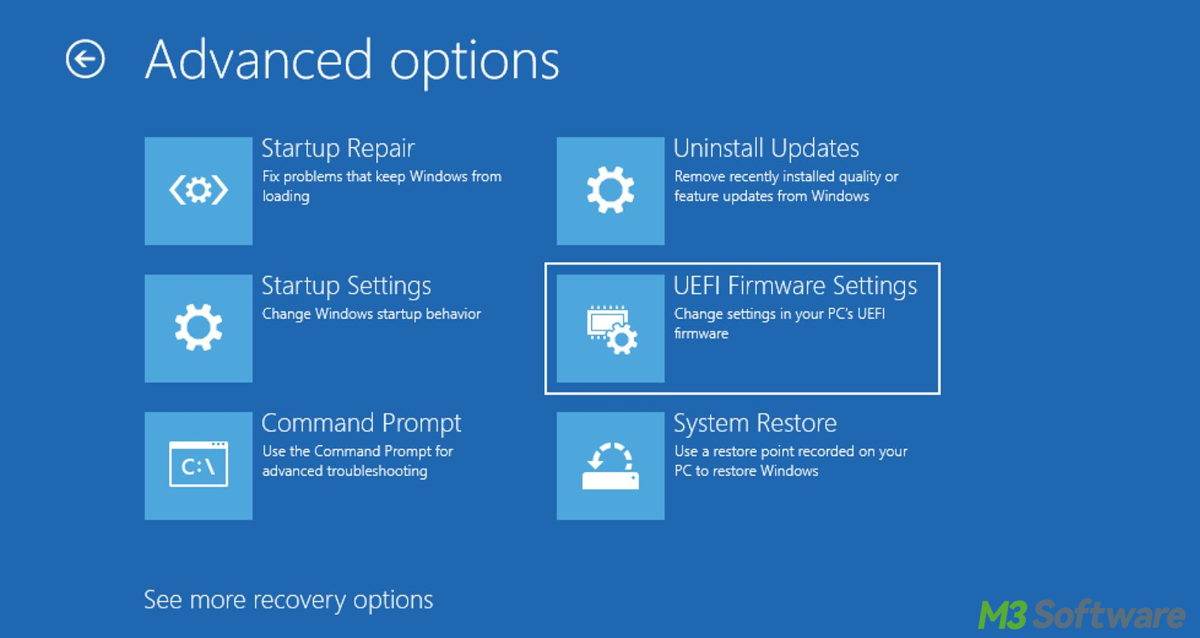
Solution 9. Access via recovery environment using Command Prompt
- Boot from a Windows installation media (USB or DVD).
- Select Repair your computer.
- Open Command Prompt.
- Use the following command to unlock the drive (Replace X: with the drive letter and YOUR-RECOVERY-KEY with the actual key):manage-bde -unlock X: -RecoveryPassword YOUR-RECOVERY-KEY
Solution 10. If all else fails, you may need to contact the manufacturer's support team or a professional technician. Persistent recovery loops can sometimes indicate deeper hardware issues or corruption in the BitLocker environment.
Final thought
Afraid of data loss? don't worry, iBoysoft Data Recovery for Windows can recover your BitLocker-encrypted data in simple steps. It also possesses a concise layout and succinct operation, which is foolproof, you simply need to follow the instructions provided by the software, just try it out by clicking the following green button.
Also read Troubleshooting Automatic BitLocker Recovery Screen
Share this to help those who are in need to prepare BitLocker recovery and leave any comments.
