
Written by
Yuri ZhangSummary: This article offers four up-to-date ways to back up Windows 11/10 to an external hard drive. Whether backing up files/disks/systems, iBoysoft DiskGeeker is the most compatible and efficient.
Does Windows 10/11 have a built-in backup program?
Yes, but built-in Windows backup tools can be confusing, outdated, or limited in scope. If you feel uncertain about how to back up your files, system, or disk to an external hard drive, this article will give you a definitive answer.
We'll walk you through the different types of backup (file Backup, system image, disk clone), explain which ones Windows offers natively, and why iBoysoft DiskGeeker is the most modern choice for full Windows backup and recovery.
Windows 11/10 backup to external drive tool- iBoysoft DiskGeeker
Why is iBoysoft DiskGeeker for Windows the best for backing up your Windows system? Whether you need a system image, file-level backup, or incremental disk/partition backup, DiskGeeker has you covered. It's especially powerful when using the Disk Clone feature to create bootable media.
If you're short on time, you can jump to the end of the article for a quick look at other ways, then return to see why it outperforms others. Other built-in tools come with limitations.
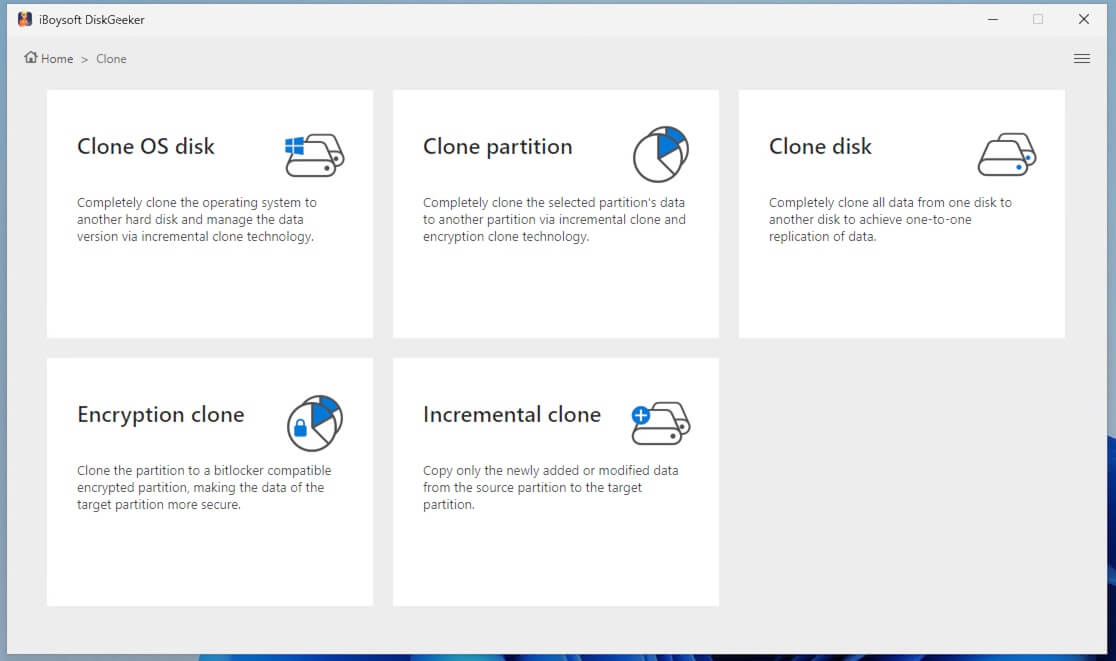
DiskGeeker combines flexibility and completeness in one tool. The Clone feature in iBoysoft DiskGeeker allows you to create a one-to-one copy of your operating system disk, a non-system partition, or an entire disk to another drive. Ideal for tasks like system migration, disk upgrades, or recovery preparation.
Warning: Keep in mind that cloning will erase all data on the destination disk/target disk instead of the source disk, so it's essential to back up any important files from that drive beforehand or use a new disk.
Share and view its easy-to-understand and effortless-to-operate tutorial.
Clone an OS disk (create bootable backup) via iBoysoft DiskGeeker
This is to help you make a bootable system copy on a hard drive for system migration, storage device upgrade, or system file backup.
Step 1: Download and launch the iBoysoft DiskGeeker for Windows.
Step 2: Click "Clone OS disk" from the Clone module to directly open Clone OS disk window.
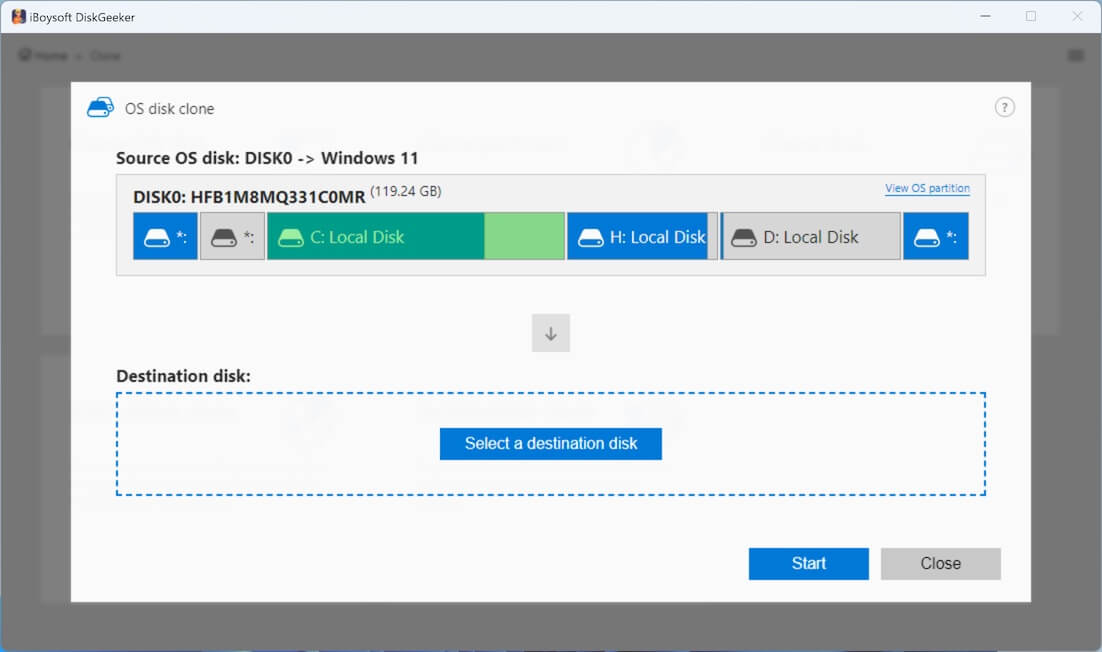
Step 3: Check the source disk from the Source OS disk section.
(In the Source OS disk section, the software will automatically list the system partition it found and also show the system version and the partition condition.)
You can click "View disk" above to check the distribution of the disk where the system partition resides. To verify if the system partition is selected correctly, the selected system partition will be marked green.
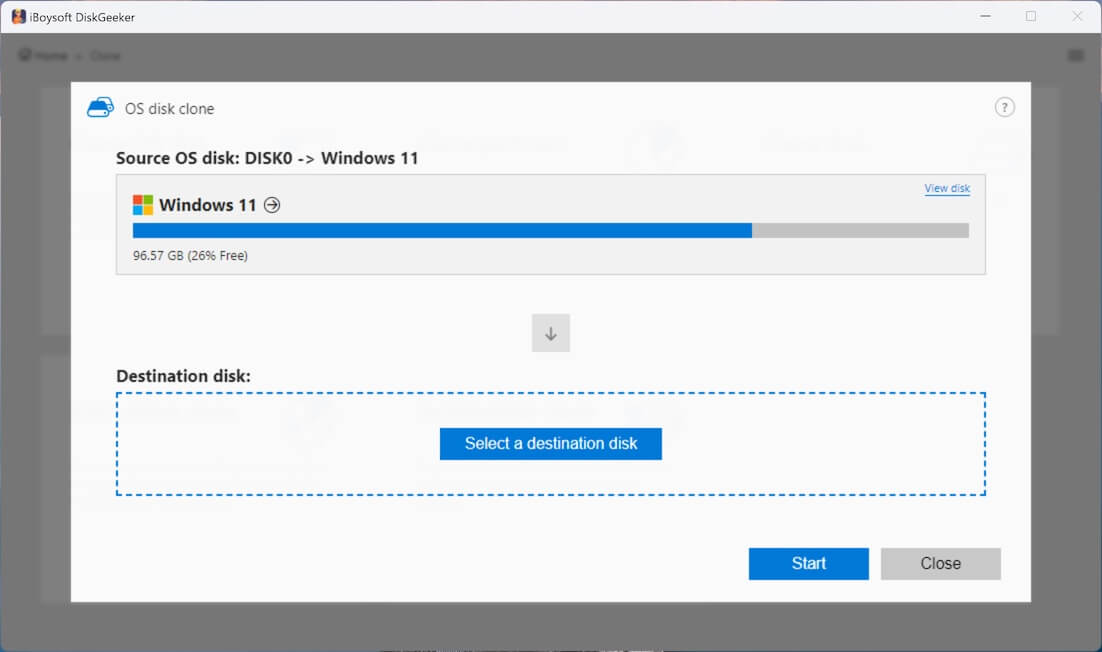
Step 4: To choose an external drive as the destination disk, hover over the "Select a destination disk" button, and you'll see a list of available target disks.
(The storage capacity of the destination disk must be larger than the source disk. For example, the source disk is 200GB, so the destination disk must be larger than 200 GB.)
Step 5: Confirm if you have chosen the right destination disk and have backed up data on it, and then click "Start" > "Confirm."
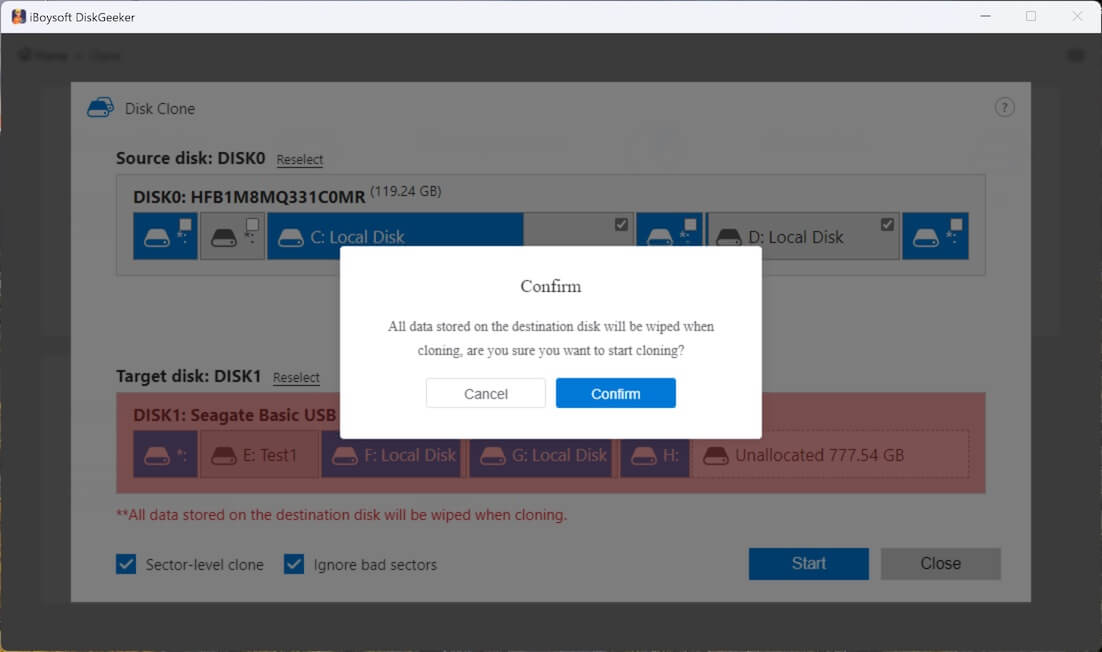
Step 6: Wait for the cloning process to complete.
Incremental clone a partition (automatic backup for NTFS partitions)
The exclusive incremental clone feature compares the data on the source partition and the target partition first. It then syncs only the inconsistent parts of the data between the source partition and the target partition, which saves a lot of time consumed by full disk cloning.
Step 1: Select "Incremental clone" from the Clone module.
Step 2: Choose the source partition.
Step 3: Hover over the Target partition area to select your destination partition.
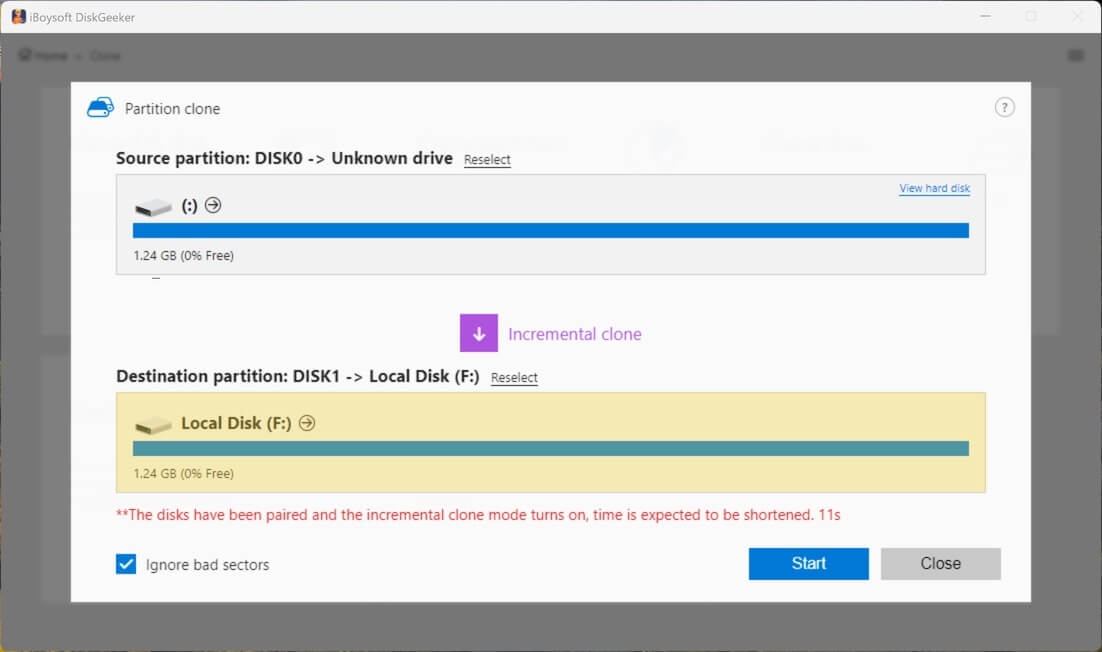
(Tick "Ignore bad sectors" if you want to bypass the possible bad sectors on the source partition.)
Step 4: Click "Start" and make a confirmation, and wait for the incremental clone to complete.
Clone a full disk utilizing iBoysoft DiskGeeker for Windows 11/10
Disk clone makes an exact copy of all partition information and data on each partition on the target disk to a destination disk with the same sectors. It also allows you to clone a disk with some partitions excluded.
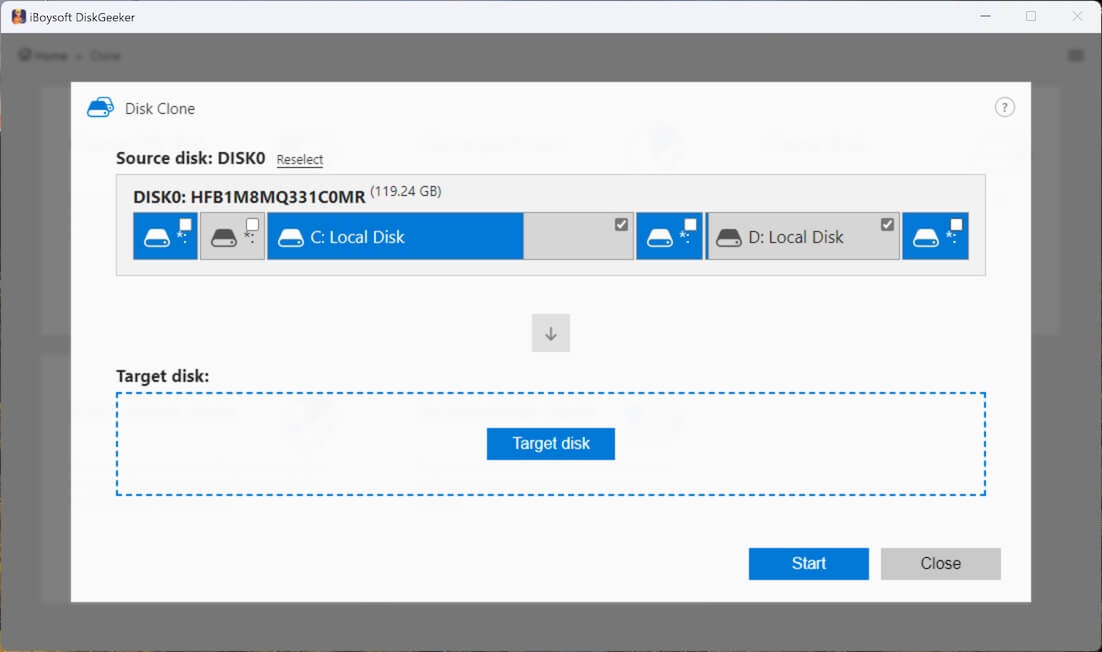
Step 1: Click "Clone disk" from the Clone module.
Step 2: Click "Source disk" to choose the source disk from the list.

(The selected source disk will be listed in the Source disk section. You can see all its partitions and their basic info here. If you want to change the source disk, click the Reselect button for a change. Also, there is a selection button on each partition of the disk. You can uncheck those you don't want to clone.)
Note: You'll see the confirmation message if you choose a hard drive containing the Windows OS. As it describes, if you need to clone an OS disk as a bootable system disk, click Yes to switch to the OS disk clone mode. If not, click No to continue.
Step 3: Hover your cursor on "Target disk" to select the destination disk. (The storage capacity of the target disk must be larger than the source disk.)
Step 4: Confirm the target disk and your settings.
(If you want to make a 1:1 copy of the source disk rather than only copy the files, check "Sector-level clone." A sector-level clone will take longer than a normal full clone. If you don't want the bad sectors on the source disk to interrupt the cloning process, choose "Ignore bad sectors.")
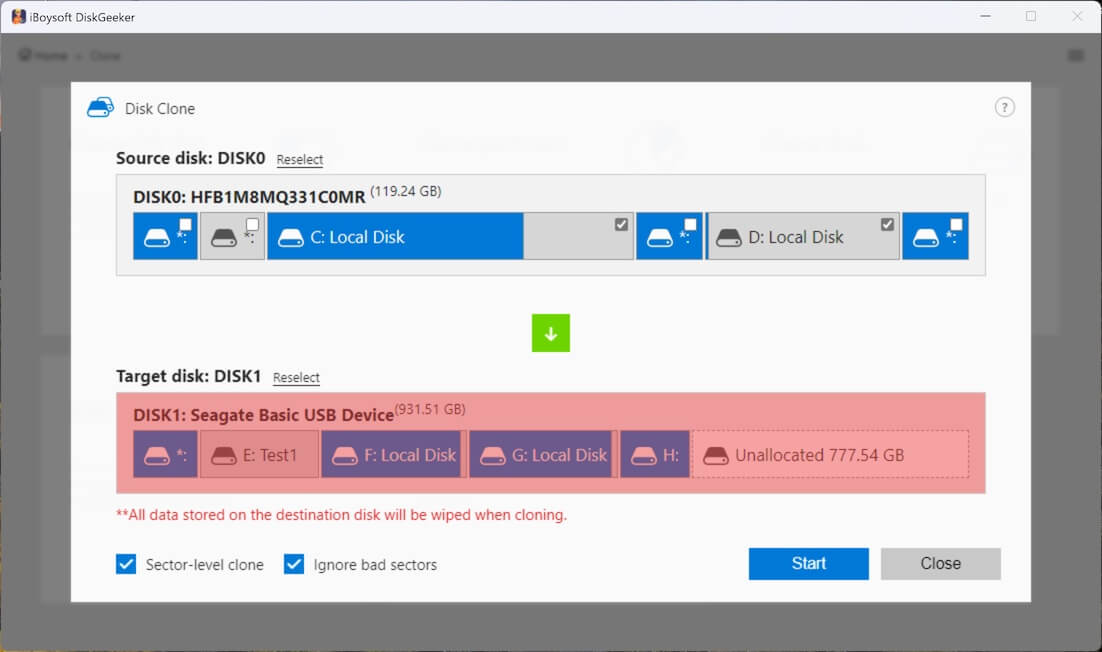
Step 5: Click "Start" > "Confirm" to start a disk clone.
Step 6: Wait for the disk clone to finish.
Tips: Want top-tier security? Enable the Encryption clone (Clone to BitLocker encrypted partition) option at the main interface of the iBoysoft DiskGeeker, gaining cloning for military-grade protection.
Share this powerful tool and continue to see the less-good approaches.
Back up files to an external hard drive through File History
This method is typically used for file backup, including documents, pictures, etc. However, without backing up Windows, settings, and apps, you can only restore individual files.
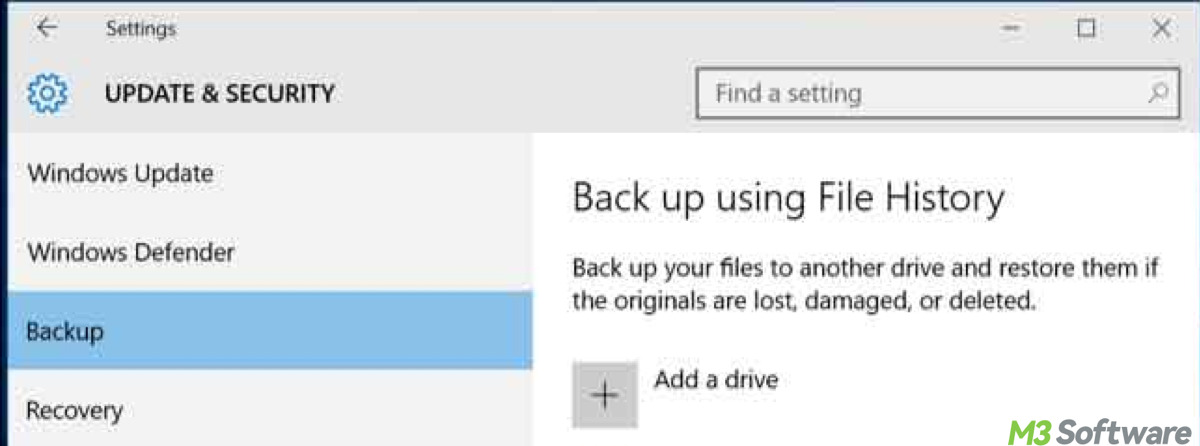
You can achieve it through Settings > Update & Security > Backup > Back up using File History. It can regularly save versions of your files to an external drive or network location. Its merit lies in that it allows version history.
Unfortunately, it will delete old versions when space runs low. It only backs up personal folders, not system files or installed programs, and you can't recover your OS if Windows crashes since it doesn't support full system backup.
Windows 11/10 files backup through OneDrive (cloud)
This method aims to sync and back up files to the cloud and relies on a stable internet connection. Here's how:
- Sign in to OneDrive with your Microsoft account.
- Right-click the OneDrive icon in the taskbar > Settings > Sync and backup > Manage backup. You can select Desktop, Documents, and Pictures to automatically back them up.
- Log in to the OneDrive official web page or use the OneDrive app on another device to access or restore files.
It's still food for keeping files accessible across devices, not full system recovery. Besides, it has a 5GB storage limit if using the free version. Some users worry about sensitive data being stored on the cloud.
System image backup to the external hard drive with Backup & Restore (Win 7)
System backup is also known as disk image, system image, or full system backup. These are generally the same thing and create a single file (like .vhdx) representing your whole system.
For the record, Windows Backup and Restore (Windows 7) feature can do this, it saves a full snapshot of the entire system, including OS, settings, installed software, drivers, and files.
While you can restore everything as it was, this way takes more space, can't restore individual files easily. This full image backup is large and does not support incremental changes. Microsoft considers it a deprecated feature (though still available). To restore, you need a bootable USB or DVD (recovery media) prepared in advance.
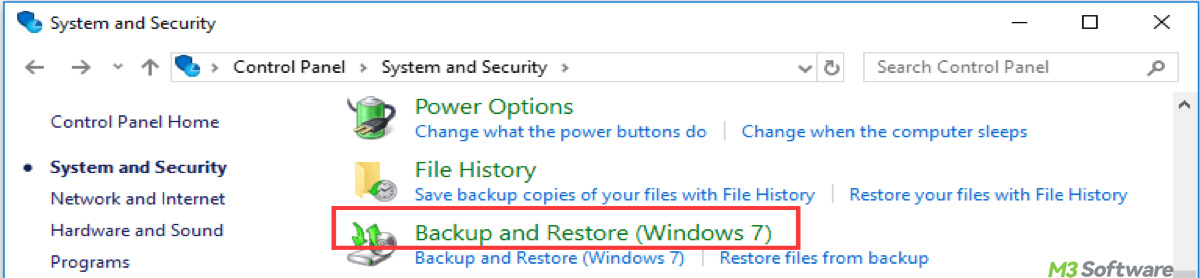
Note: Backup and Restore (Windows 7) is still available in both Windows 10 and Windows 11, even though it's an older feature. Since it's outdated, use the in-vogue iBoysoft DiskGeeker for Windows.
Summary
While Windows 10/11 offers basic file and outdated system image backups, they lack flexibility and speed. DiskGeeker stands out by supporting:
- Bootable system cloning.
- Sector-level and incremental backups.
- File-level or full-disk clones.
- BitLocker clone support.
- Compatibility with modern drives and Windows versions.
For personal peace of mind and professional-grade recovery, iBoysoft DiskGeeker is your best backup companion. Click Free Download to have an exhaustive backup.
Spread this article to help those who are unsure of Windows backup channels.