
Written by
Yuri ZhangSummary: This article is for clearing the registry after uninstalling software. To prevent malicious Trojan apps from automatically redownloading or resurrecting, use iBoysoft DiskGeeker to clean without leaving traces.
When we uninstall software on Windows, many may assume that all traces of the program are gone. However, in reality, many applications leave behind leftover files and registry entries.
Now let's dive into how to clean the registry after uninstalling software. Furthermore, how to completely delete the residual files.
Note: The Windows Registry is a hierarchical database where Windows and applications store configuration settings, preferences, licensing info, and file associations and context menu items. Each program you install typically creates its own set of registry entries under specific registry keys.
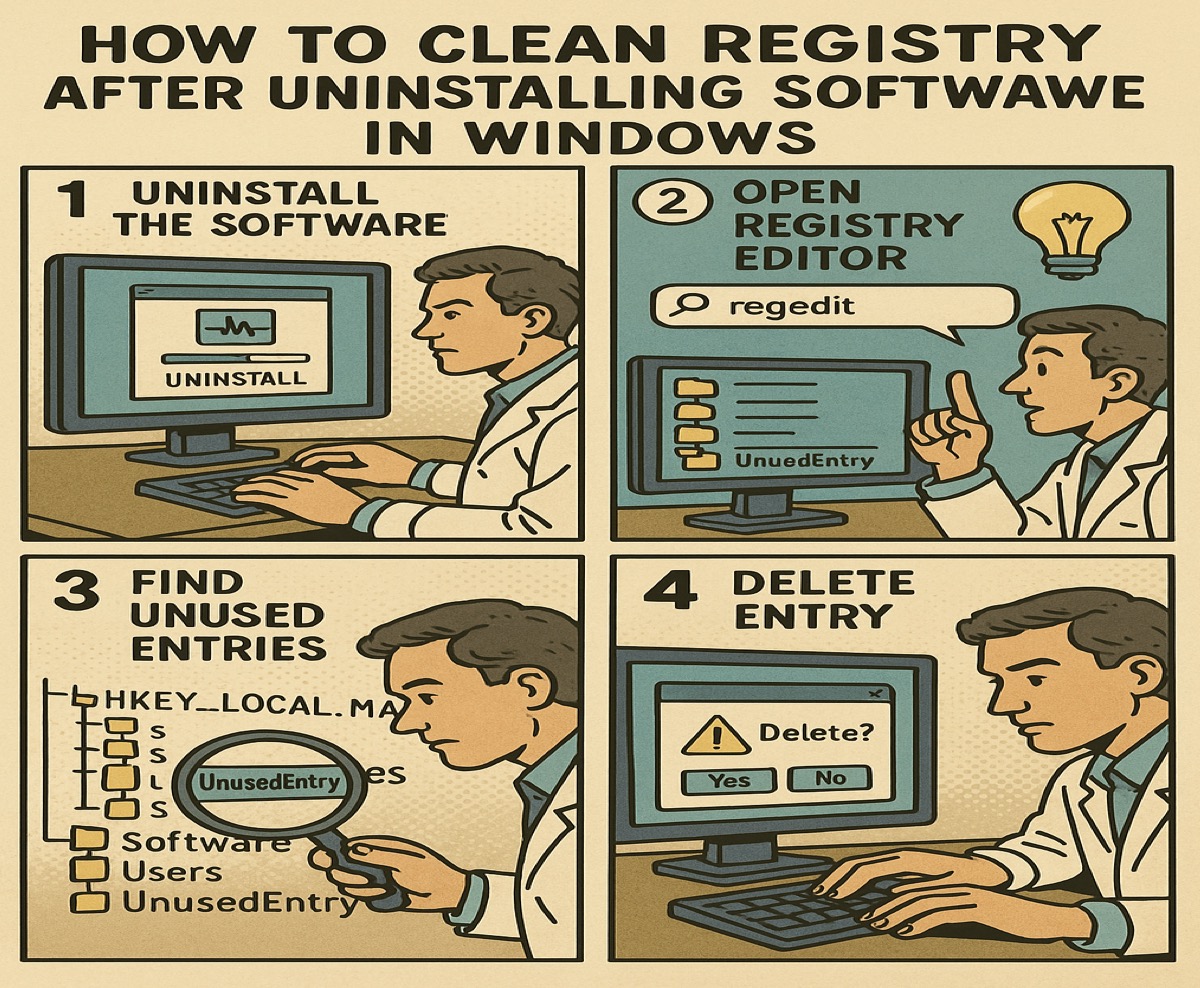
How to clean registry entries after uninstalling software
You can manually delete registry entries related to uninstalled software using the Registry Editor. However, this requires caution, because deleting the wrong entry can harm your system, and some registry keys may be shared with other programs or needed by Windows. So backup is the first step lest errors occur.
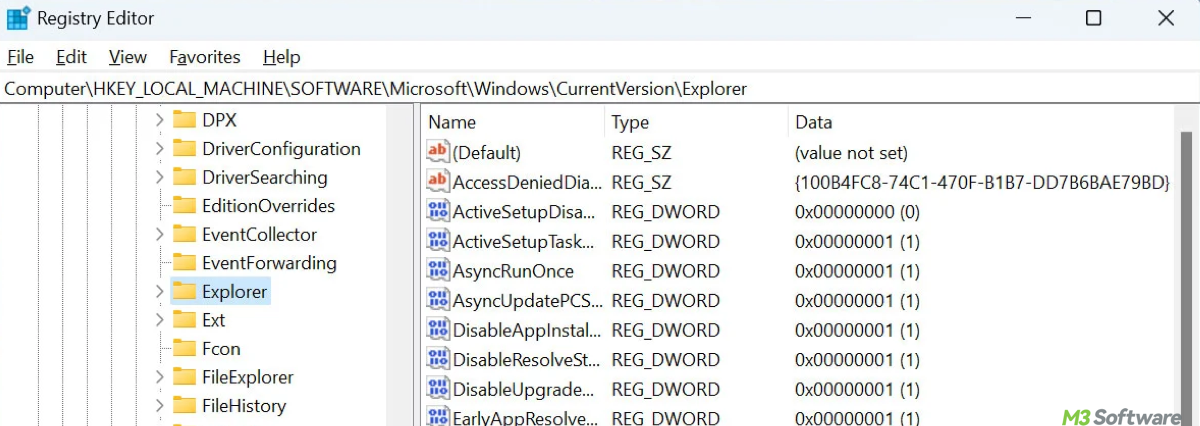
Step 1: To open Registry Editor, press Win + R, type regedit, and hit Enter.
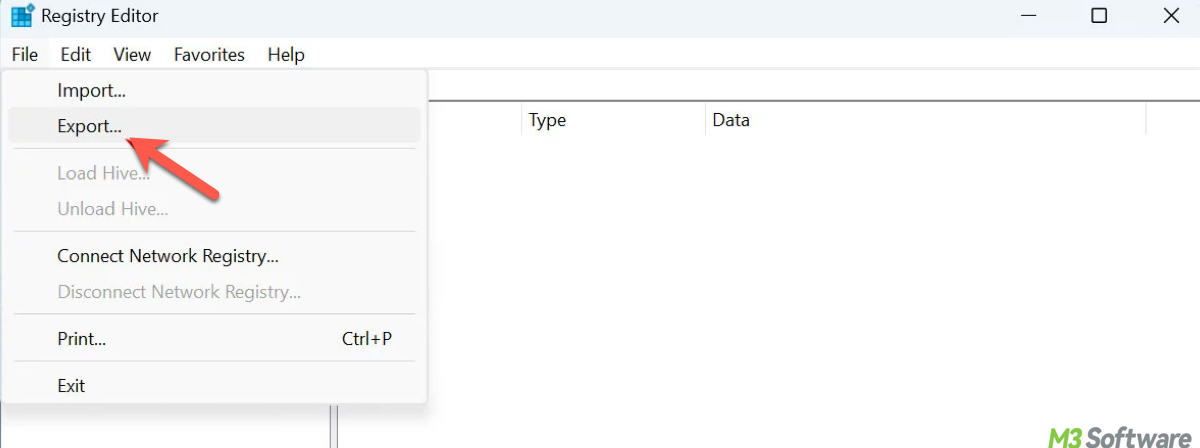
Step 2: Click File > Export to save or back up the entire registry.
Step 3: Use Ctrl + F in regedit to search for the software's name or its publisher. Carefully review and delete relevant keys and values.
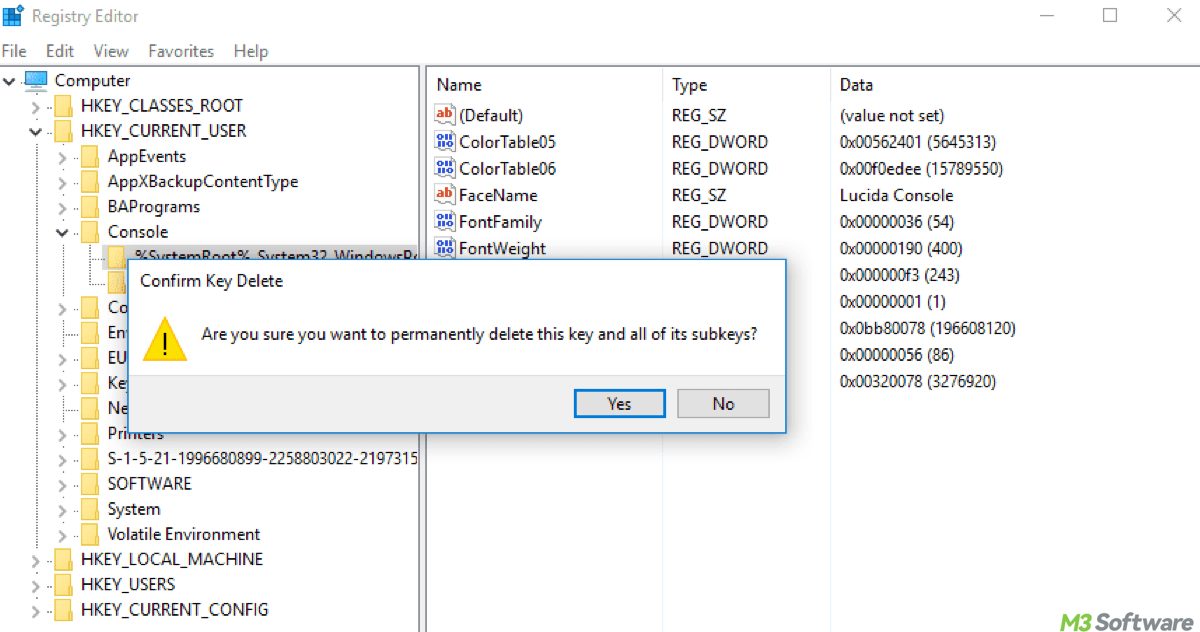
Step 4: Right-click the key or value related to the uninstalled software, choose and confirm Delete.
Step 5: Press F3 to continue searching for all related entries and delete them if you are sure.
Note: Is registry cleaning enough to erase all traces? The answer is No, residual files, logs, and cached data may still exist. Even after cleaning the registry, residual files may exist in C:\Program Files, C:\ProgramData, and C:\Users\YourName\AppData. To spare your effort, use iBoysoft DiskGeeker to remove related files radically.
Spread this detailed guide to help more newcomers in the registry world.
Utilize iBoysoft DiskGeeker for Windows for a deeper clean
Some notoriously stubborn programs are extremely difficult to remove completely (you know the ones), often leaving behind traces that can still pose risks. iBoysoft DiskGeeker rises to the challenge.
This disk tool offers a professional-grade data erasure that can securely wipe entire disks, specific partitions, or individual files and folders, making data unrecoverable. Here's how to use it:
1. Download and launch iBoysoft DiskGeeker for Windows.
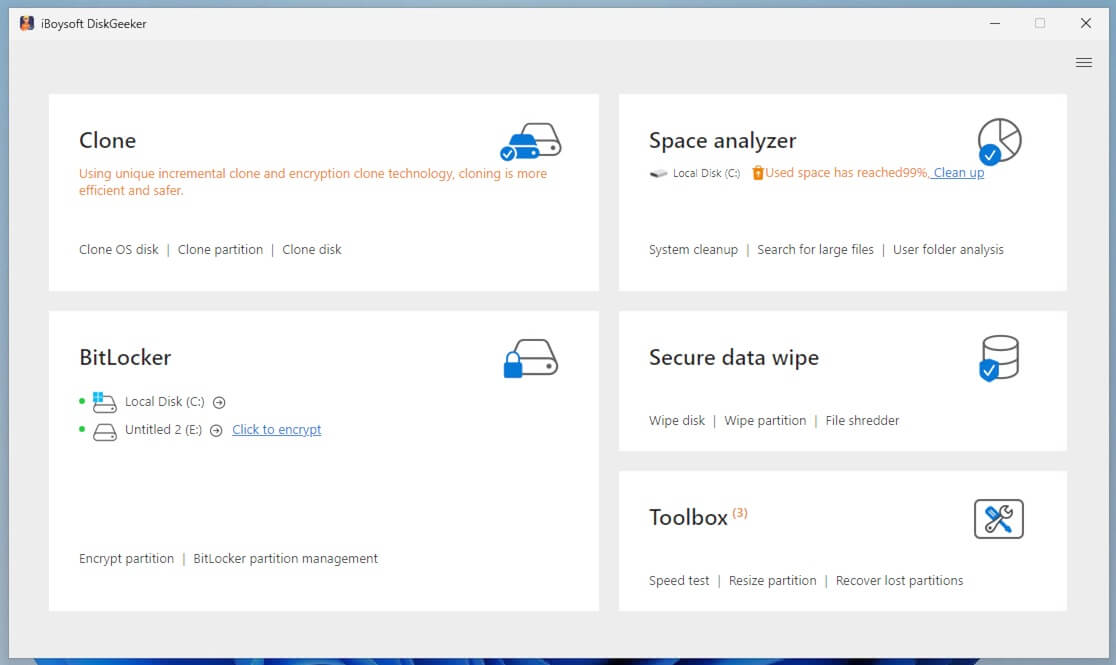
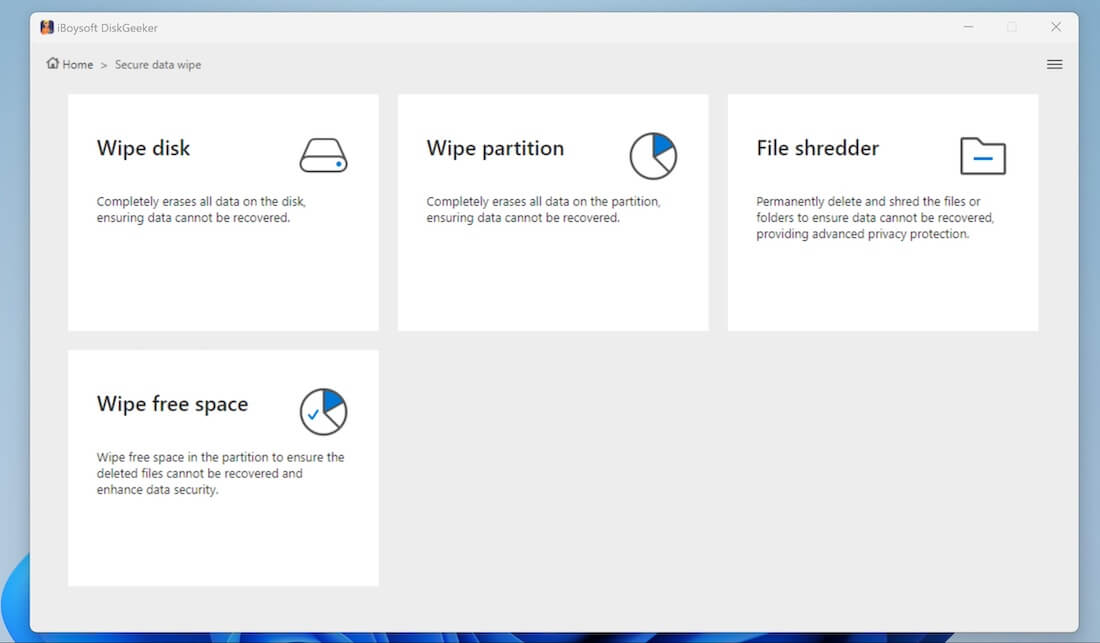
2. Click "Secure data wipe" > "File shredder."
3. Click the add button (+) to add your uninstalled software file or folder, especially in C:\Program Files, C:\ProgramData, and C:\Users\YourName\AppData, as we mentioned.
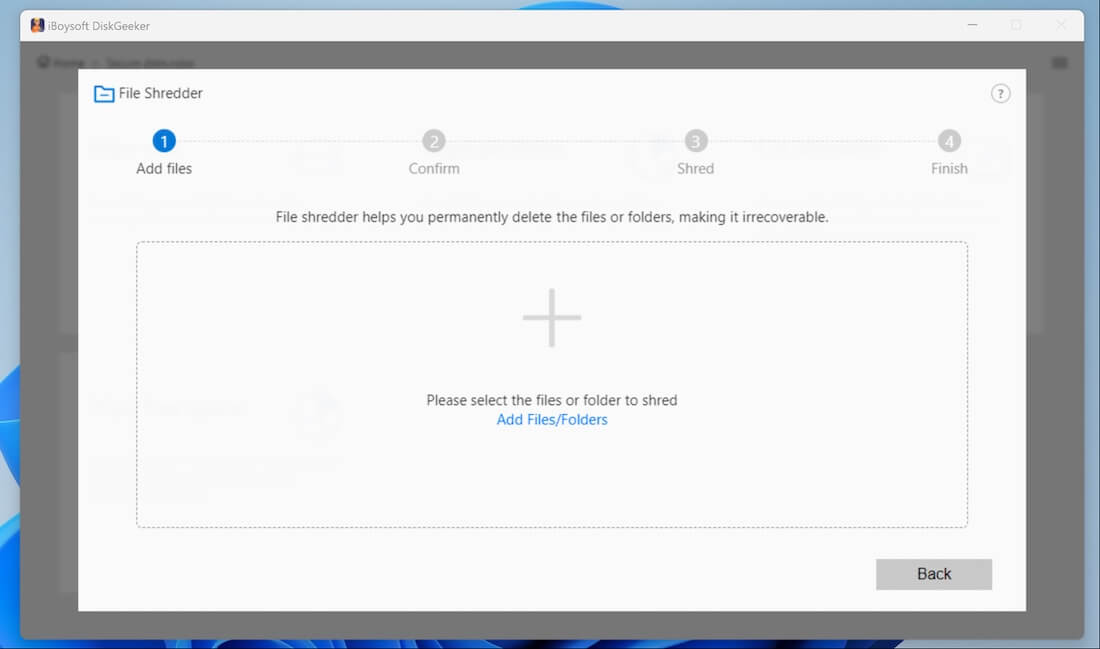
On the popup, tick the file or folder you no longer use and click "Yes" to add it.
4. Check "Clear indexes" if you want to wipe the properties of this file or folder on the disk so as to completely erase it, including its file name, location on the disk, or other metadata.
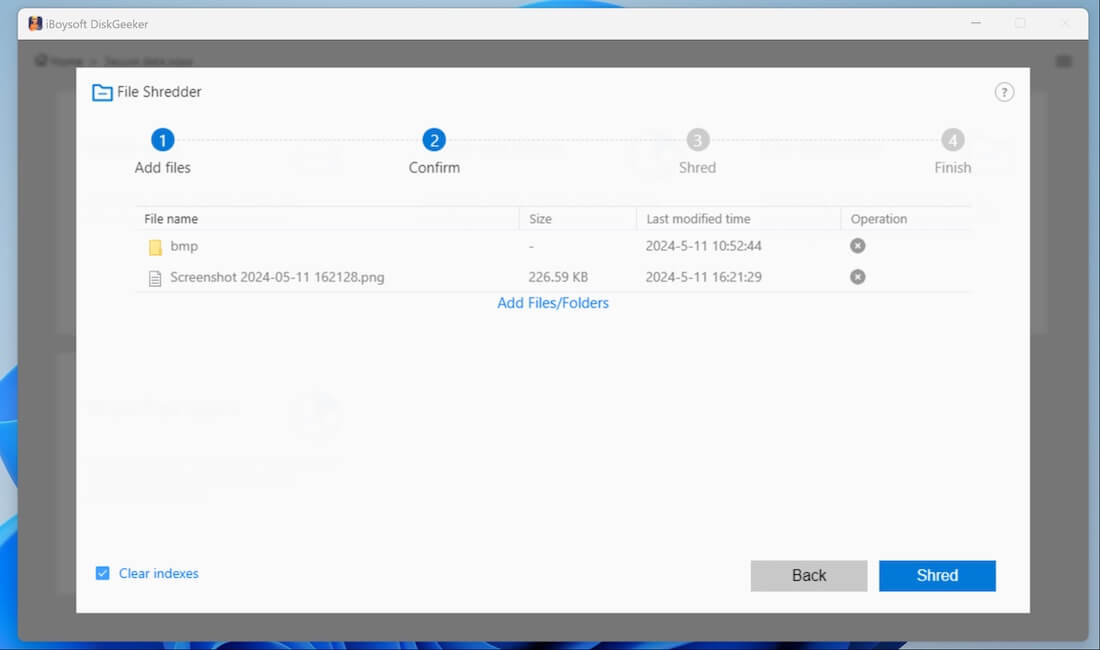
Lastly, confirm the file or folder you add and click "Shred," and wait for the file to be shredded.
Final thought
Using Windows' built-in uninstall process removes the program files and some registry entries.
However, not everything gets cleaned up. First, registry entries can be left behind. Second, temporary files and folders may remain in directories like AppData or Program Files. Besides, related services or drivers may linger. These leftovers can accumulate over time.
To ensure complete removal of all traces of uninstalled software, including residual files, consider using iBoysoft DiskGeeker for Windows. It's recommended to explore its other built-in functions like System Cleanup or Wipe Disk, so as to keep your system cleaner, lighter, and less prone to software conflicts.
Try it now by clicking the green download button and experience the difference!
Share and also read How to keep Windows from restarting or updating via regedit.