
Written by
Yuri ZhangSummary: This article elaborates how to delete certain/ more files, directories/ folders in Windows CMD with del command and rmdir command, while iBoysoft DiskGeeker can do more secure and effortless deletion.
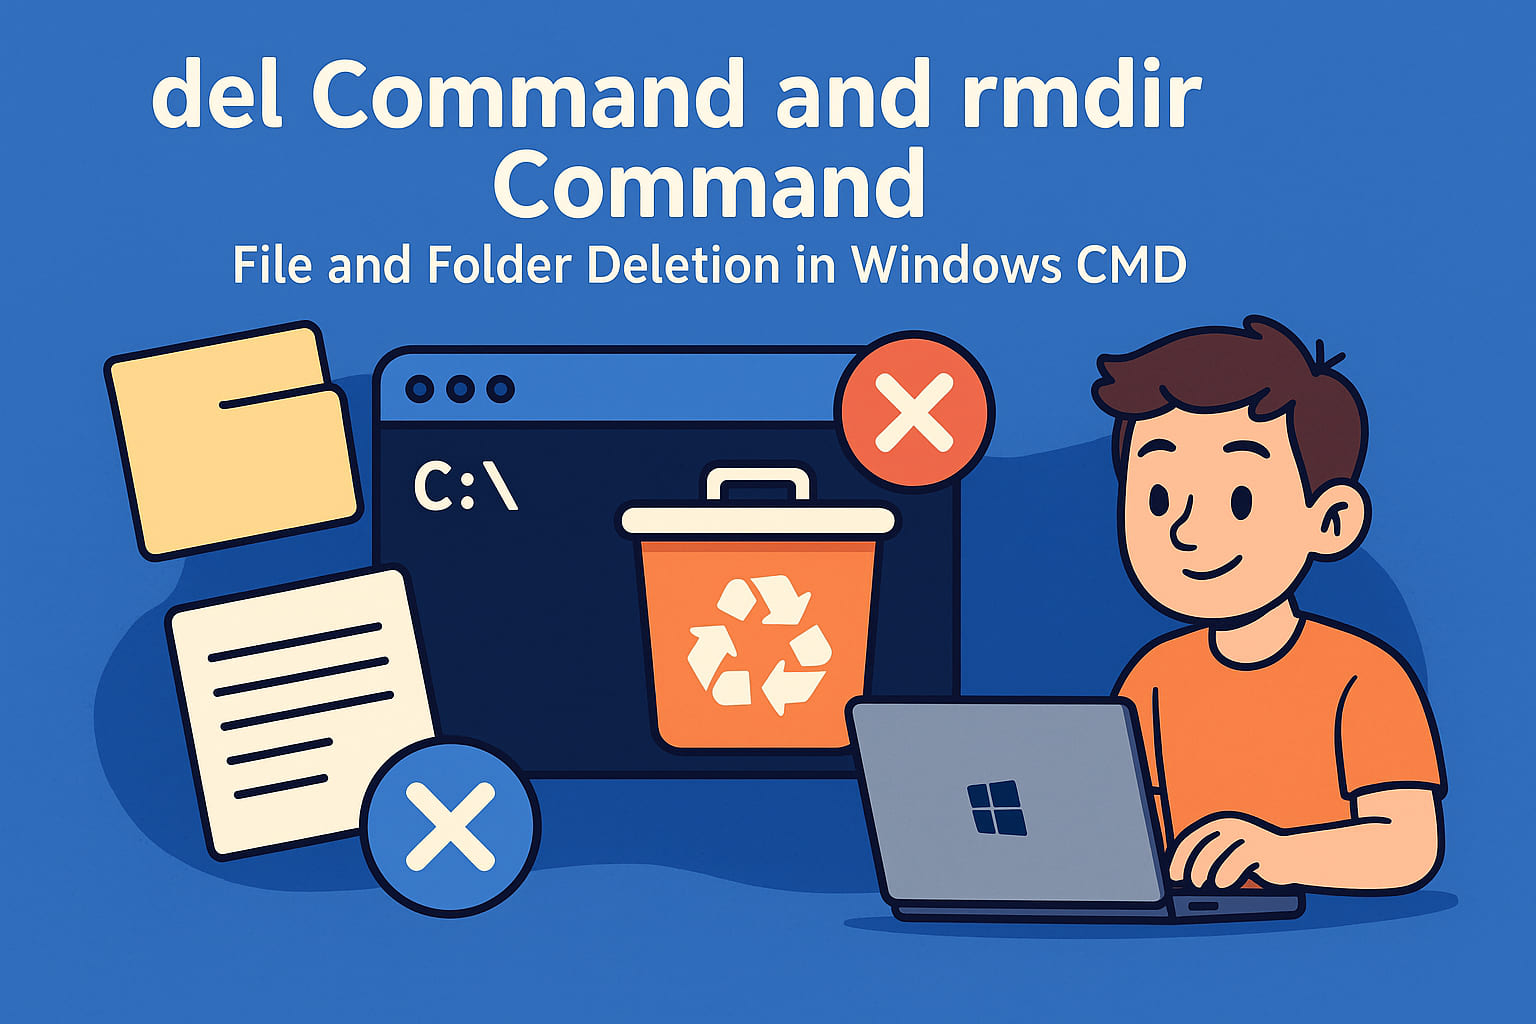
When managing files and directories in Windows, the Command Prompt (CMD) offers fast, scriptable solutions - the del and rmdir commands for time-consuming deletion tasks.
We are supposed to know del and rmdir in CMD permanently erase files and folders. They bypass the Recycle Bin and do not provide a recovery option unless you have a backup or use specialized recovery software. Let's explore what exactly the del command looks like and real-life examples.
Tips: Before that, I hope you've already known how to use the CMD; you just need to open CMD in Windows by searching it in the Start Menu of Windows, right-clicking it and running it as an administrator, then copy the command and press Enter.
Summary of commands
The examples below may be unclear at first glance. Refer to the detailed breakdown that follows to understand each part and identify which parameters are customizable.
| Task | Command Example |
| Delete a single file | del "C:\file.txt" |
| Force delete read-only file | del /f "C:\file.txt" |
| Quietly delete multiple files | del /f /q "C:\Folder\*.*" |
| Delete files in all subfolders | del /s "C:\Folder\*.log" |
| Delete a folder and all contents | rmdir /s /q "C:\Folder" |
| Scripted file deletion (batch) | Use del inside .bat with automation logic |
1. Deleting files effectively with the del command
The del command is the go-to tool for deleting one or more files directly from the command line. It works in both traditional DOS and modern CMD environments.
Syntaxdel [options] [drive:][path]filename
Del command switches
Here are the available switches (options) for the del command in Windows CMD. To further your understanding, check what they represent:
| Switch | Description |
| /F | Forces deletion of read-only files |
| /Q | Quiet mode – no confirmation prompts |
| /S | Deletes specified files from all subdirectories |
| /P | Prompts for confirmation before each file deletion |
| /A[:attributes] | Deletes files with specified attributes (R, H, S, A) |
Example usages
del /f /q "C:\Temp\oldfile.txt"
del /s *.log
del /a:h "C:\Hidden\secret.txt"The first line forces the deletion of a file silently. The second one deletes all .log files in the current and subfolders. The third line deletes the hidden file. Just replace the folder path and file type (*.log, *.tmp, *.txt, etc.) according to your needs.
Share this if you think it's precise.
2. Deleting folders with the rmdir command/CMD
The del command is strictly for files. To delete folders, including all their contents, the correct tool is rmdir (or its shorthand rd).
Syntax
rmdir /s /q "C:\Path\To\Folder"
You may still recall that /s refers to delete all files and subfolders, and /q is quiet mode.
Example
rmdir /s /q "C:\Projects\OldVersion"
This command deletes the folder and all its contents without prompting for confirmation.
3. Using the del command in batch files
When we say "batch delete", we don't mean one single del command with many paths, you can't list multiple different folders in one del command like this: del /f /q "C:\Logs\*.log" "D:\Backup\*.bak" "E:\Temp\*.tmp" This won't work.
Instead, you write multiple del commands, one per folder or file type, in a batch file (a .bat file), so they all run one after another automatically. There is a correct example of a batch delete script:
@echo off
del /f /q "C:\Logs\*.log"
del /f /q "D:\Backup\*.bak"
del /s /q "E:\Temp\*.tmp"
pause
Think of it like a to-do list for deleting. Each del line targets one specific folder and file type. You can add as many lines as you want.
Note: @echo off: Hides command output in the CMD window. Pause: Waits for a key press before closing, so you know the job is done (even without a message).
How to save as a .bat file in Notepad (real example)
Instead of typing each command manually every time, you write it once and save it in a .bat file, then just double-click to run.
- Open Notepad.
- Paste this:@echo off
del /f /q "C:\Logs\*.log"
echo Done!
pause - Click File > Save As.
- In the “Save as type” dropdown, select All Files.
- In “File name”, type:cleanup.bat
- Save it to your Desktop.
- Double-click cleanup.bat to run.
If you find this a little bit hard, share and use a more easy-to-use iBoysoft DiskGeeker for Windows.
4. Enhance your file management with iBoysoft DiskGeeker
While command-line tools like del and rmdir is powerful for scripted cleanup, a more intuitive and feature-rich solution can take your file management to the next level. iBoysoft DiskGeeker is a professional disk utility for Windows that offers:
- Quickly identify and remove junk, large, or redundant files with a visual disk Space Analyzer.
- Permanently delete sensitive files with no chance of recovery within Disk Wipe.
- Easily resize, clone, or encrypt drives without using complex commands.
Here's how to use it to delete batch files easily:
Step 1: Download and launch iBoysoft DiskGeeker for Windows.
Step 2: You see the "Space analyzer" module, (System cleanup is so easy that you can try it first,) or select a space analysis feature you want.
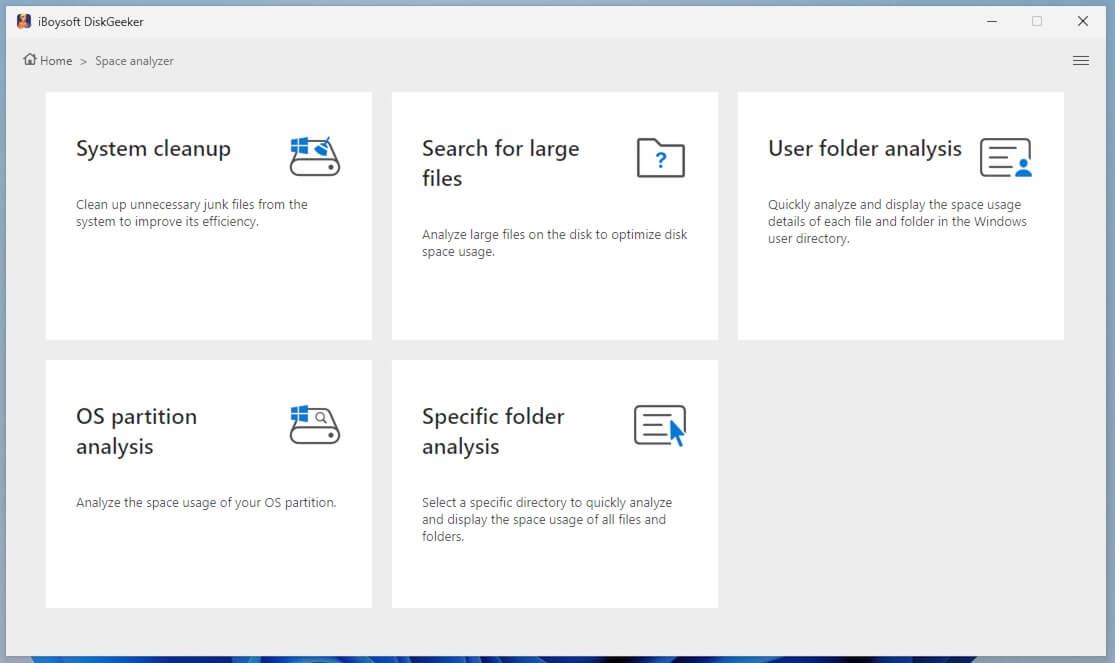
Step 3: It will automatically analyze the files in the selected location.
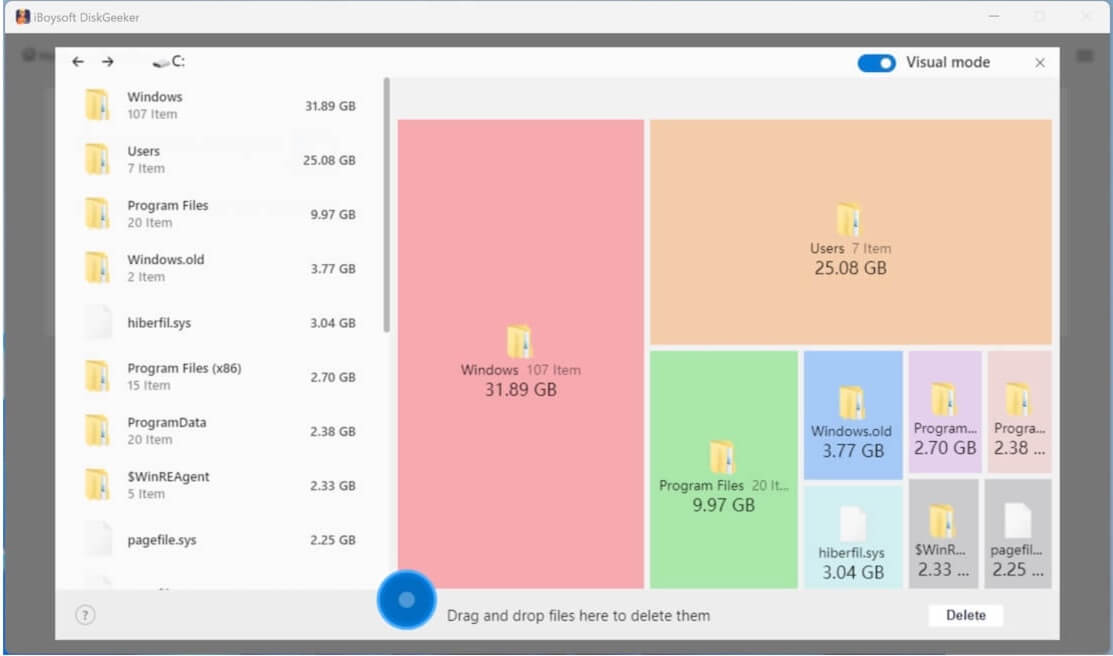
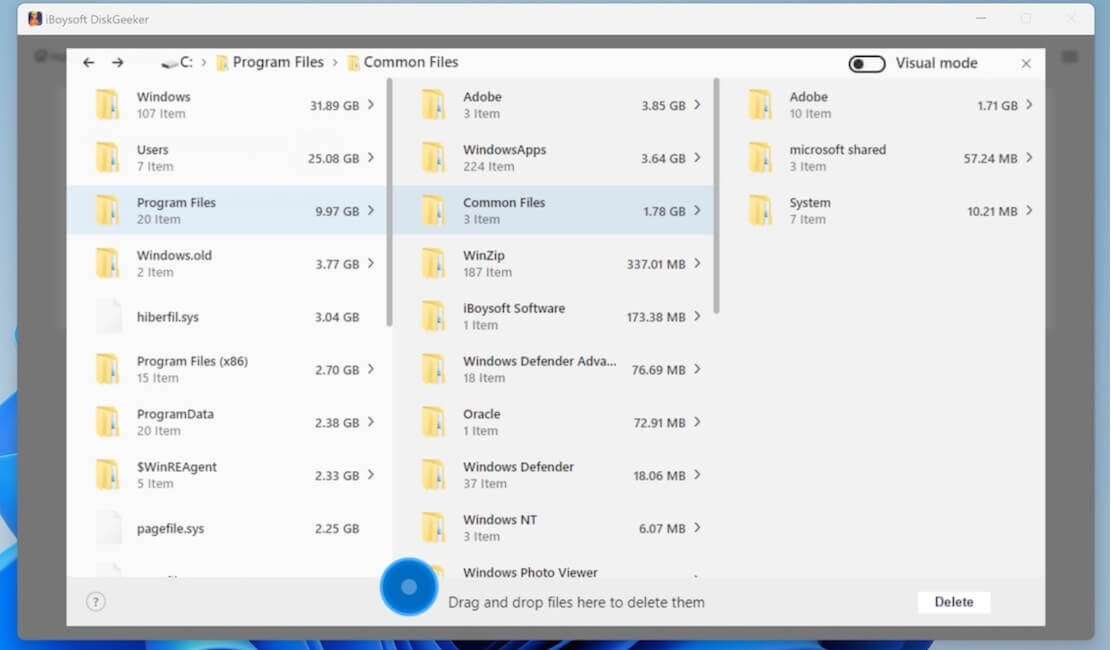
Step 4: Wait and check the scanned results, which can be displayed in two modes: Visual mode and Non-visual mode.
In visual mode, the left and right views are the same level directories.
Turn off the Visual mode button in the upper right corner; you are in non-visual mode, which displays the file path.
Step 5: Select many unwanted files and drag and drop them to the Trash Bin (a blue circle).
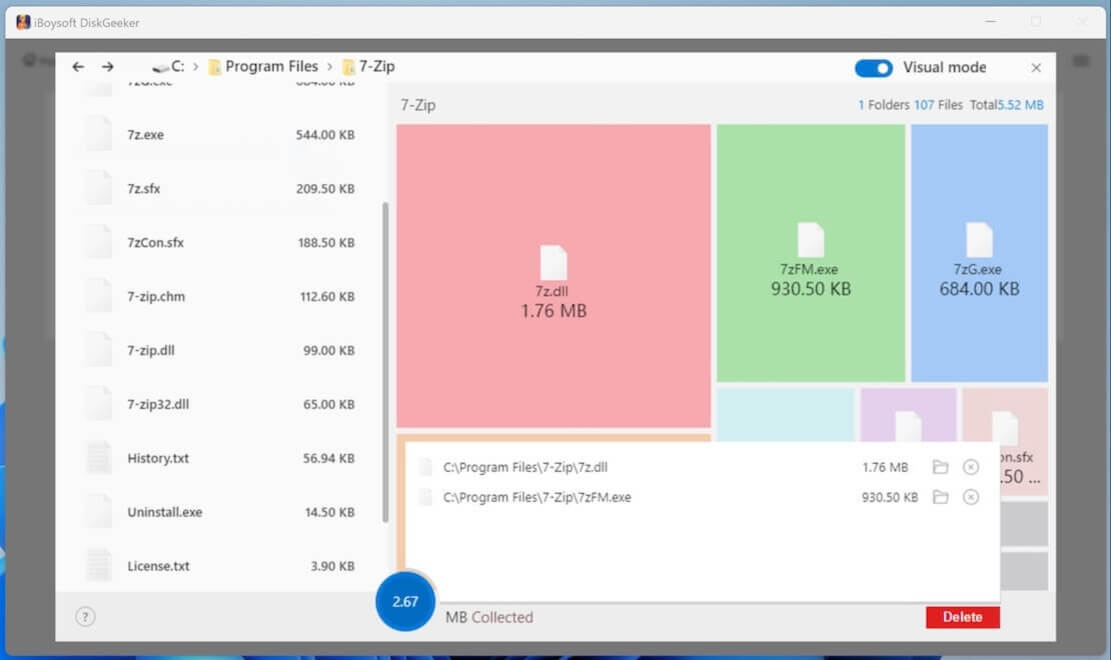
If you regret moving a certain file to the Trash Bin, click on the blue circle, then click the Remove (X) button.
Step 6: Click "Delete" to permanently remove the files you put in the blue Trash Bin.
Final thought
If you're seeking a safer, faster, and more efficient alternative to manual deletion, iBoysoft DiskGeeker is the perfect assistant for both everyday users and professionals with a simple and user-friendly interface. Try it now and simplify your disk management tasks with confidence.
Spread and experiment with its other almighty functions.
Also read other commands such as dism, diskpart, or sfc if you are interested.