
Written by
Wilsey YoungSummary: This article elaborates on Windows Reserved Storage and also shows how to check and reduce the amount of Reserved Storage on a Windows 10/11 computer. -From m3datarecovery.com
The Windows 10 or Windows 11 operating system is designed with an important feature called Reserved Storage, which seemingly sets aside a portion of your hard disk space for no reason.
As a matter of fact, Reserved Storage plays a crucial role in maintaining system stability and operations. This article explores what Windows Reserved Storage is and how to manage it in different ways.
What is Windows Reserved Storage
Reserved Storage is a feature in Windows 10 (since version 1903) and Windows 11. It sets aside a portion of your system drive space, typically around 7 GB by default, for system use. Reserved Storage ensures a certain amount of space on your Windows computer is always ready for:
- Windows updates: By keeping update space available, Reserved Storage prevents Windows updates from failing.
- Temporary files: Reserved Storage houses the temporary files generated by apps and processes so that they can work smoothly.
- Cache and system data: Some essential processes need room for caching to keep your computer responsive.
Windows Reserved Storage prevents system update errors and system instability by reserving sufficient storage space.
You can tap on the following buttons to share the post
How to check Windows Reserved Storage
By following the steps below, you can easily check if Windows Reserved Storage is enabled and how much Reserved Storage Windows is using:
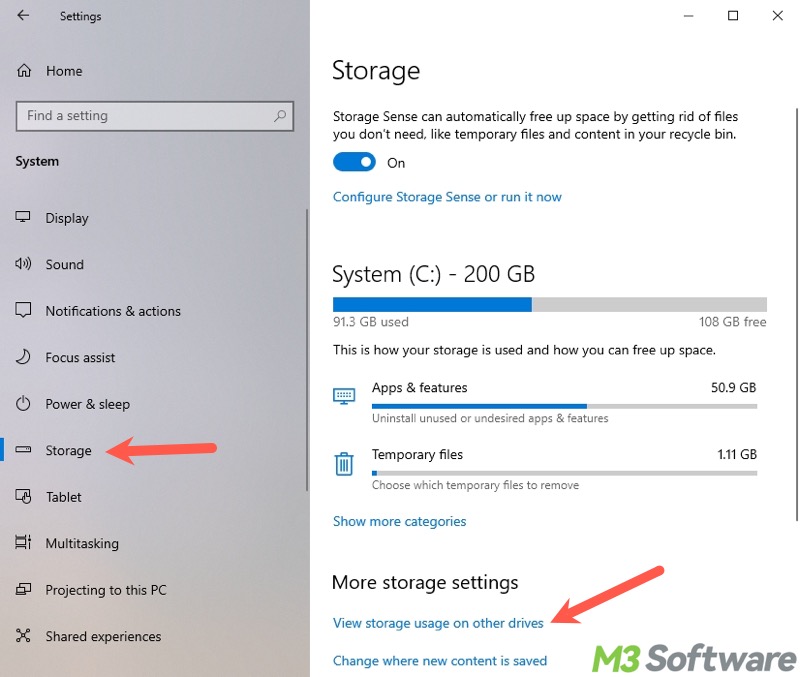
- Press the "Windows+I" keys or click the gear icon in the "Start" menu to open "Settings."
- Choose "System" from the menu.
- Select "Storage" from the left side panel.
- In the right pane, click "View storage usage on other drives."
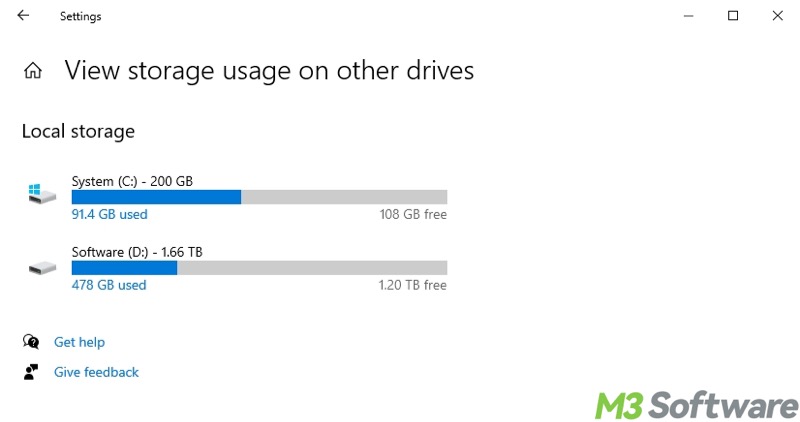
- Select the "System (C:)" drive.
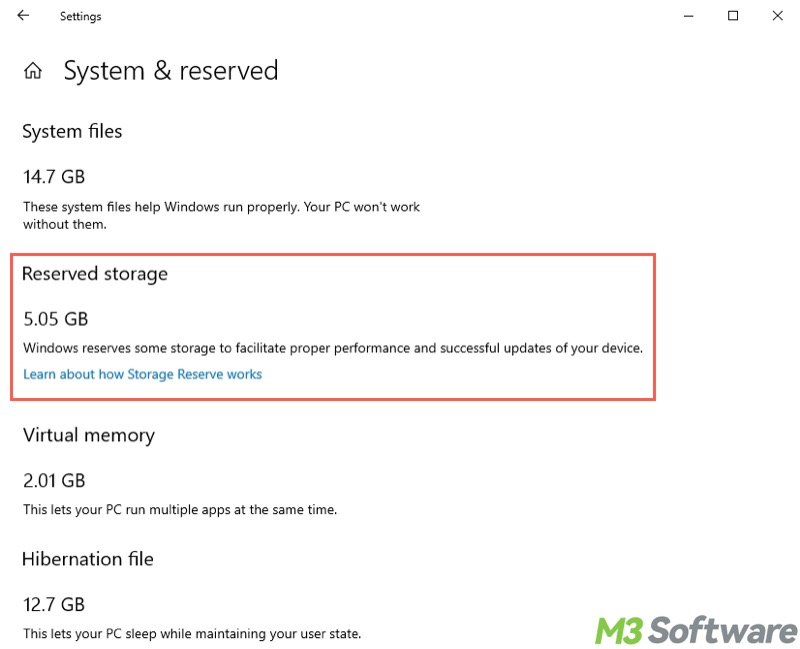
- Tap on "System & reserved" from the list.
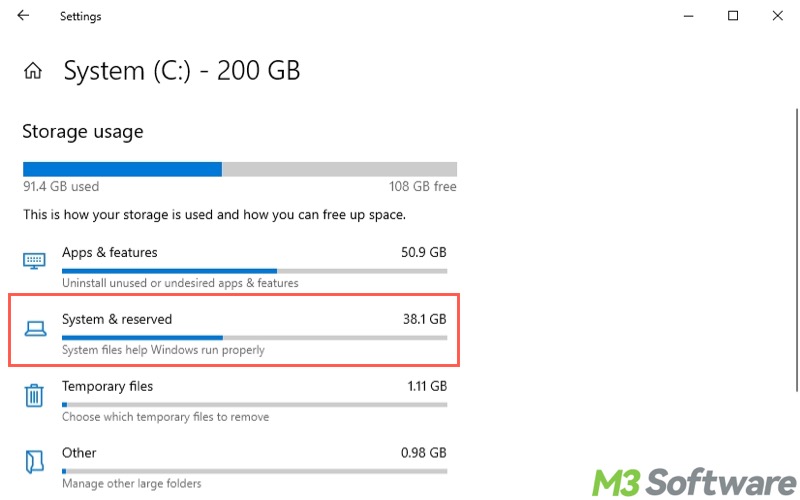
- View "Reserved storage" and the space Windows has reserved.
Alternatively, you can check Windows Reserved Storage status through Command Prompt:
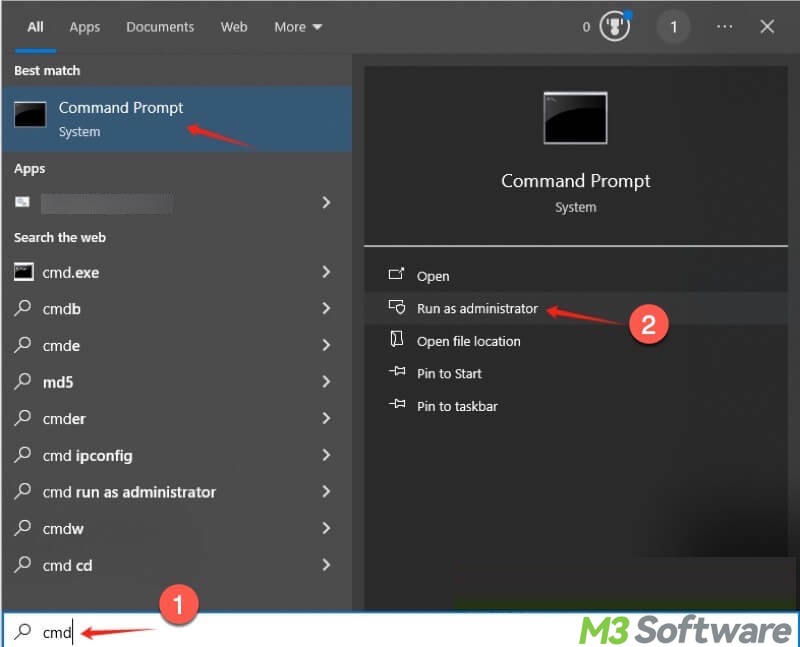
- Press the "Windows+S" keys to open the Windows search box.
- Type "cmd" and run Command Prompt as an administrator.
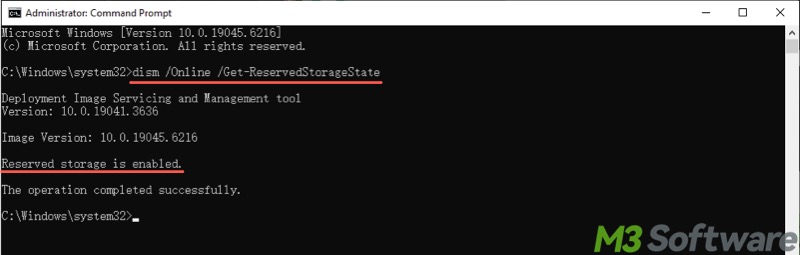
- Input "dism /Online /Get-ReservedStorageState", and hit the "Enter" key on your keyboard.
How to delete Reserved Storage Windows 10/11
Windows users are not provided with a straightforward interface to adjust how much reserved storage system is using, but its footprint can be reduced by:
Uninstall optional features
The reserved storage size can grow due to optional features installed on a Windows PC. Uninstalling unnecessary ones can free some reserved space:
- Open "Settings" and choose "Apps" from the main interface.
- Choose "Apps & features."
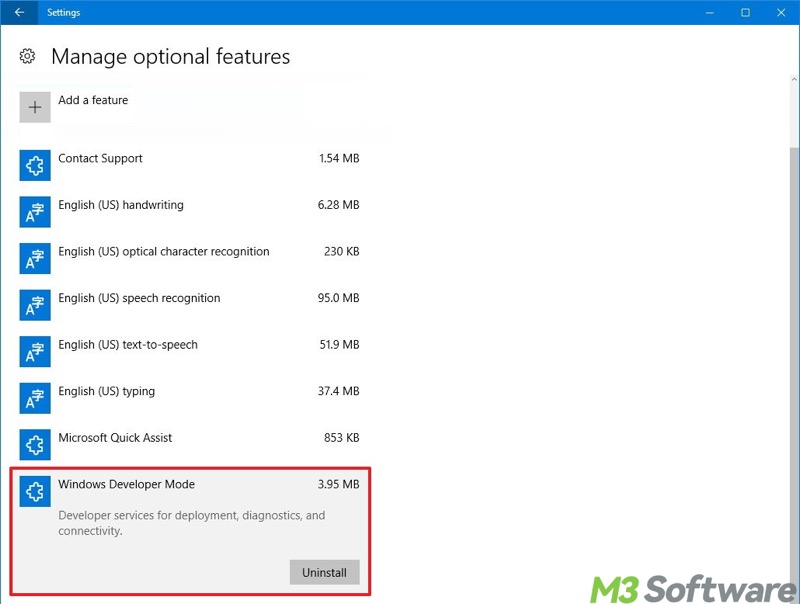
- Click "Manage optional features."

- Uninstall unnecessary ones.
Removing language packs
Excessive language packs can increase Windows Reserved Storage size. Removing the additional language can help shrink the reserved storage space:
- Open "Settings" and choose "Time & language"
- Choose "Region & language, and uninstall languages.
How to disable Windows Reserved Storage Windows 10/11
It's best to leave Windows Reserved Storage enabled, as it plays a key role in maintaining system stability. Disabling it forcibly might cause update errors or various glitches.
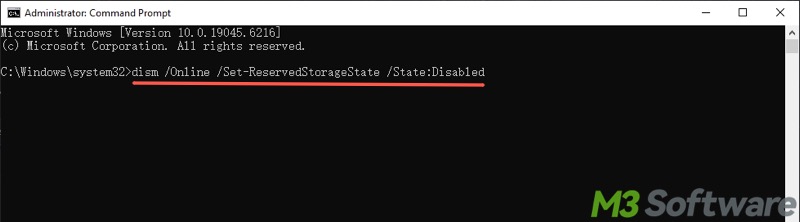
That said, here's how to disable Reserved Storage Windows 10 through Command Prompt:
- Run Command Prompt as an administrator.
- Input "dism /Online /Set-ReservedStorageState /State:Disabled" and hit the "Enter" key on your keyboard.
To re-enable the Windows Reserved Storage, run:
dism /Online /Set-ReservedStorageState /State:Enabled
Changing the registry value is an alternative way to disable Windows Reserved Storage:
- Press the "Windows+R" keys to launch the "Run" dialog box.
- Input "regedit" and click "OK."

- Locate ReserveManager by following the path: HKEY_LOCAL_MACHINE\SOFTWARE\Microsoft\Windows\CurrentVersion\ReserveManager
- In the right pane, double-click "ShippedWithReserves"
- Change its value from 1 to 0, and then click "OK" to save.

- Restart your PC.
Conclusion
Windows Reserved Storage essentially sets aside several GBs of space on your Windows PC to prevent system update failures and system instability caused by scant storage space. Therefore, disabling Windows Reserved Storage is not recommended.
You can click the buttons below to share the post
FAQs about Windows Reserved Storage
A
Reserved Storage is a built-in feature first introduced in Windows 10 that sets aside a portion of your computer’s storage. The reserved storage space is primarily used for system updates, apps, temporary files, and caches, ensuring your device functions smoothly even when it runs out of space.
A
Reserved Storage typically takes up around 7 GB, depending on the computer configuration. The actual size may vary over time, as temporary files and optional features affect it.
A
Yes. Windows users are allowed to disable the Reserved Storage feature, which can be done through the Command Prompt or Registry Editor on Windows 10/11. However, after Reserved Storage is disabled, the system update may fail and some processes and apps may function unstably.