iBoysoft DiskGeeker for Windows Online Help - Resize Partition
Overview of Resize Partition
Resize Partition in iBoysoft DiskGeeker for Windows is used to reallocate the storage space of the internal or external hard drive. It enables you to extend or shrink the NTFS partitions, except for the BitLocker-encrypted NTFS partitions.
The interface of the Resize Partition feature displays all the disks and partitions; the blue area represents the used space of that partition, the gray area indicates the unused space of that partition, and the white (or called transparent) area means unallocated space on the disk.
With Resize Partition, you can simply shrink the free space of a selected partition to release more unallocated space. Or, you can extend a partition on a disk for more available space if this disk has unallocated space, helping maximize computer performance and fix low partition space issues.
How to Resize a Partition?
Follow the step below to resize(shrink or extend) a Partition:
Step 1: Open iBoysoft DiskGeeker for Windows on your computer.
If you attempt to resize a partition on an external hard drive such as an SSD, HDD, USB flash drive, etc., make sure you have correctly connected it to your PC.
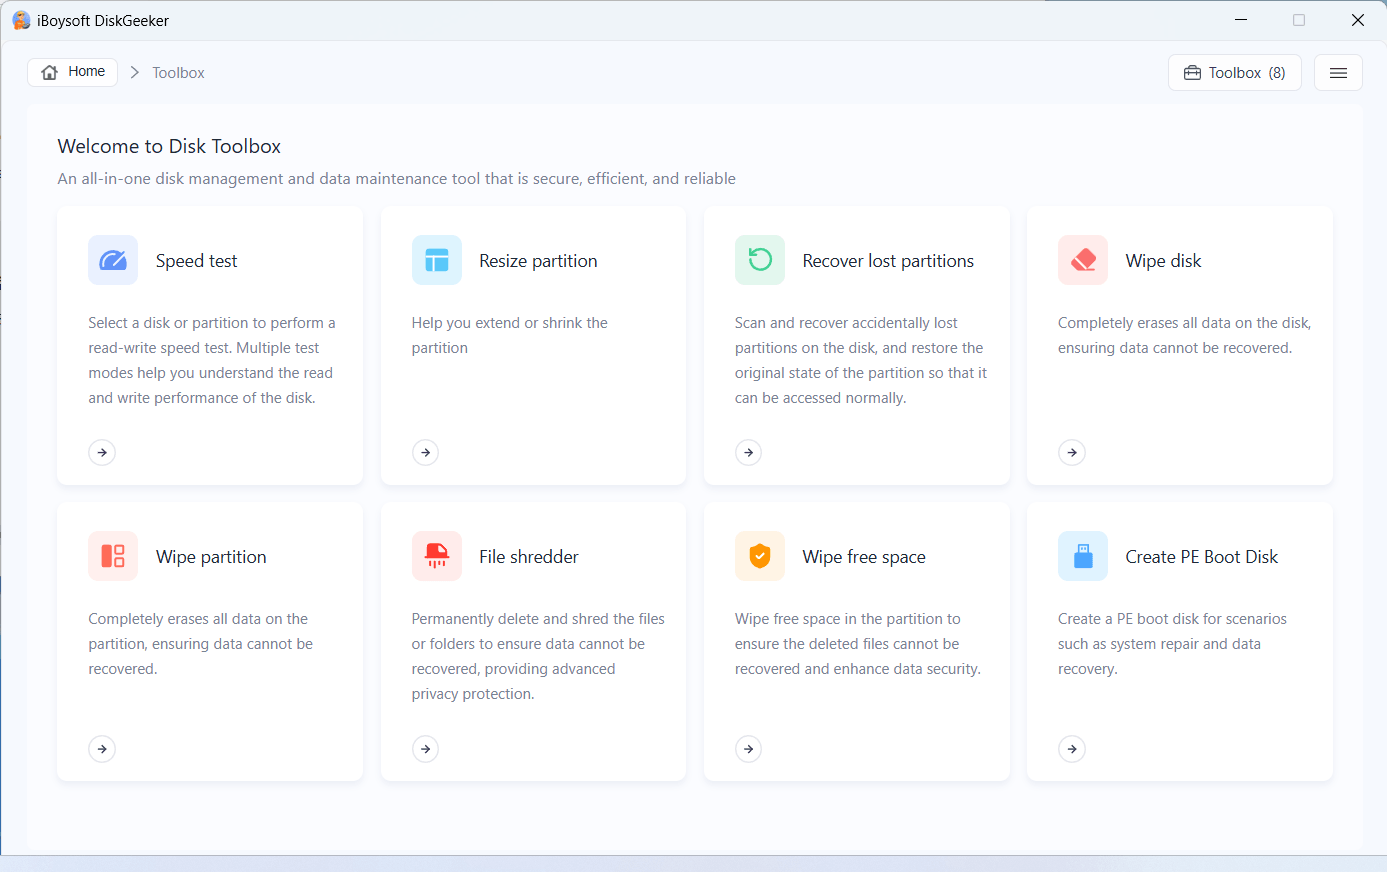
Step 2: Click "Toolbox" in the upper right corner of the app's main interface and choose "Resize partition."
Step 3: Select the NTFS partition you want to adjust the size of.
You can choose to "Only show external hard drives," "Only show internal hard drives," or "Show all disks" by clicking the box in the upper right corner. The software will list the disks and partitions and use different colors to represent different ranges: blue for used partition space, gray for unused partition space, and white (transparent) for unallocated disk space.
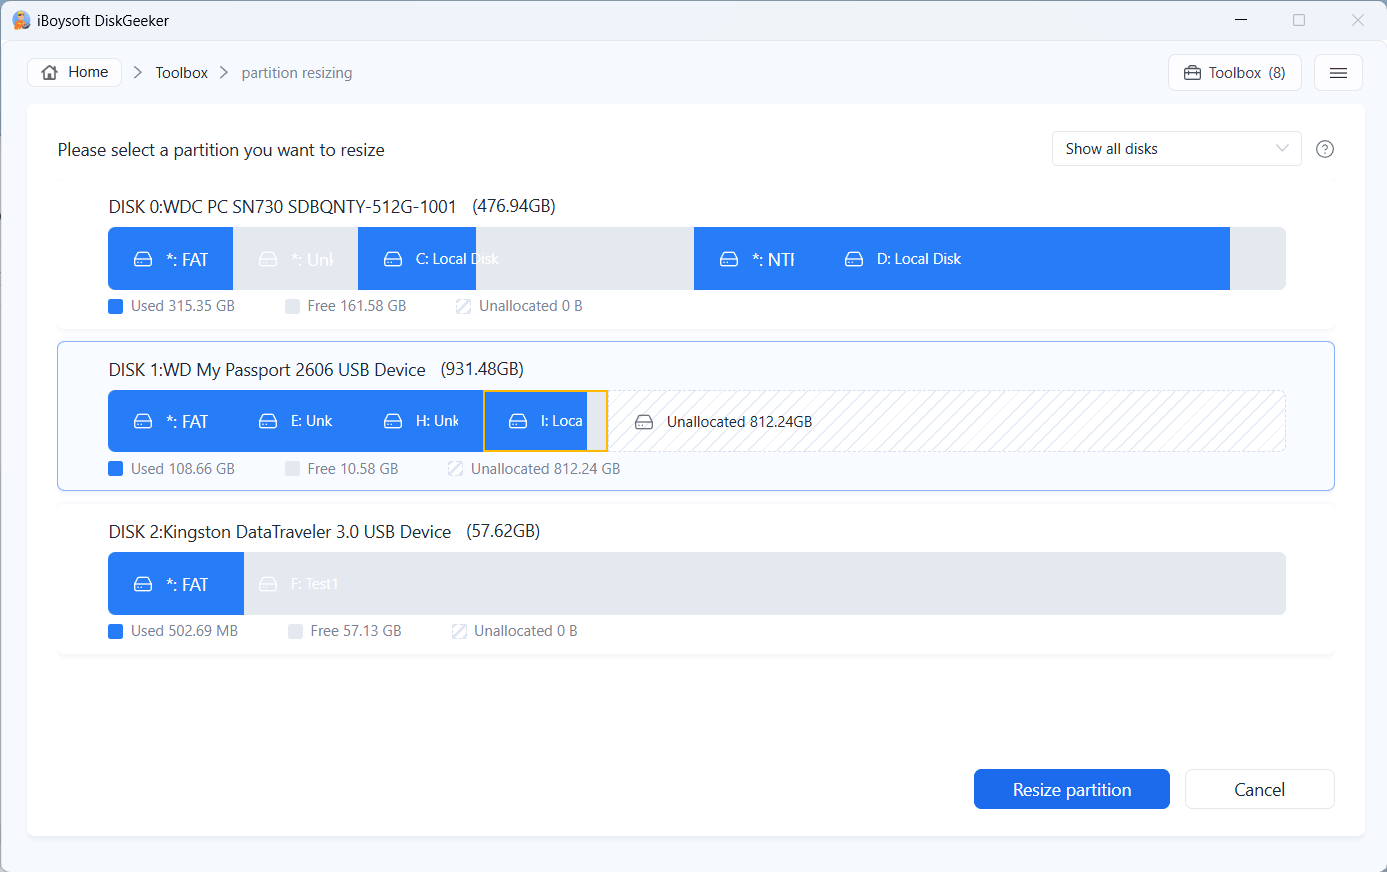
Once you select the target NTFS partition, it will be circled in yellow.
Step 4: Click "Resize partition."
Step 5: View the partition information.
It shows the partition space that can be shrunk or extended.
The current range that can be expanded is shown in the white (transparent) area, while the current range that can be shrunk is represented in the blue area. If there is only a blue area, you can only shrink the partition. If it shows the white (transparent) area, you can extend the partition.
Step 6: Extend or shrink the partition size.
There are two ways you can choose to resize the partition:
Way 1: Hover your cursor over the black block at the end of the dark blue area, hold down the left button of the mouse, then drag the mouse to the left or right to reduce or enlarge the partition space. You can see the specific value as you drag.
Way 2: Click the up and down arrows next to the Partition size box to extend or shrink the partition size. Then, the value of the "Available space after resizing" box will change simultaneously. Similarly, you can adjust the available space to resize the partition.
When you adjust using either of the two ways, the value of the other changes accordingly.
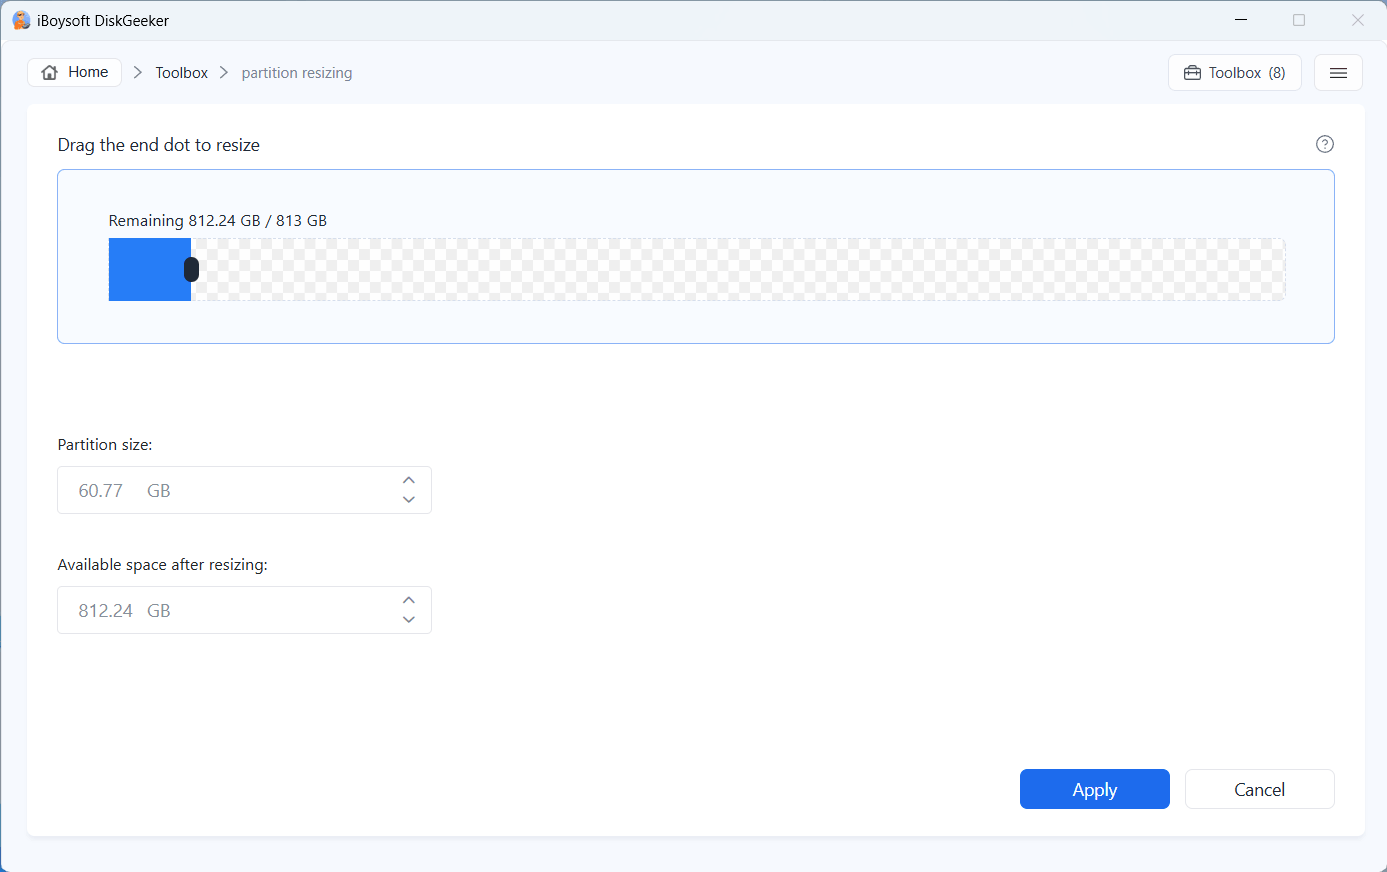
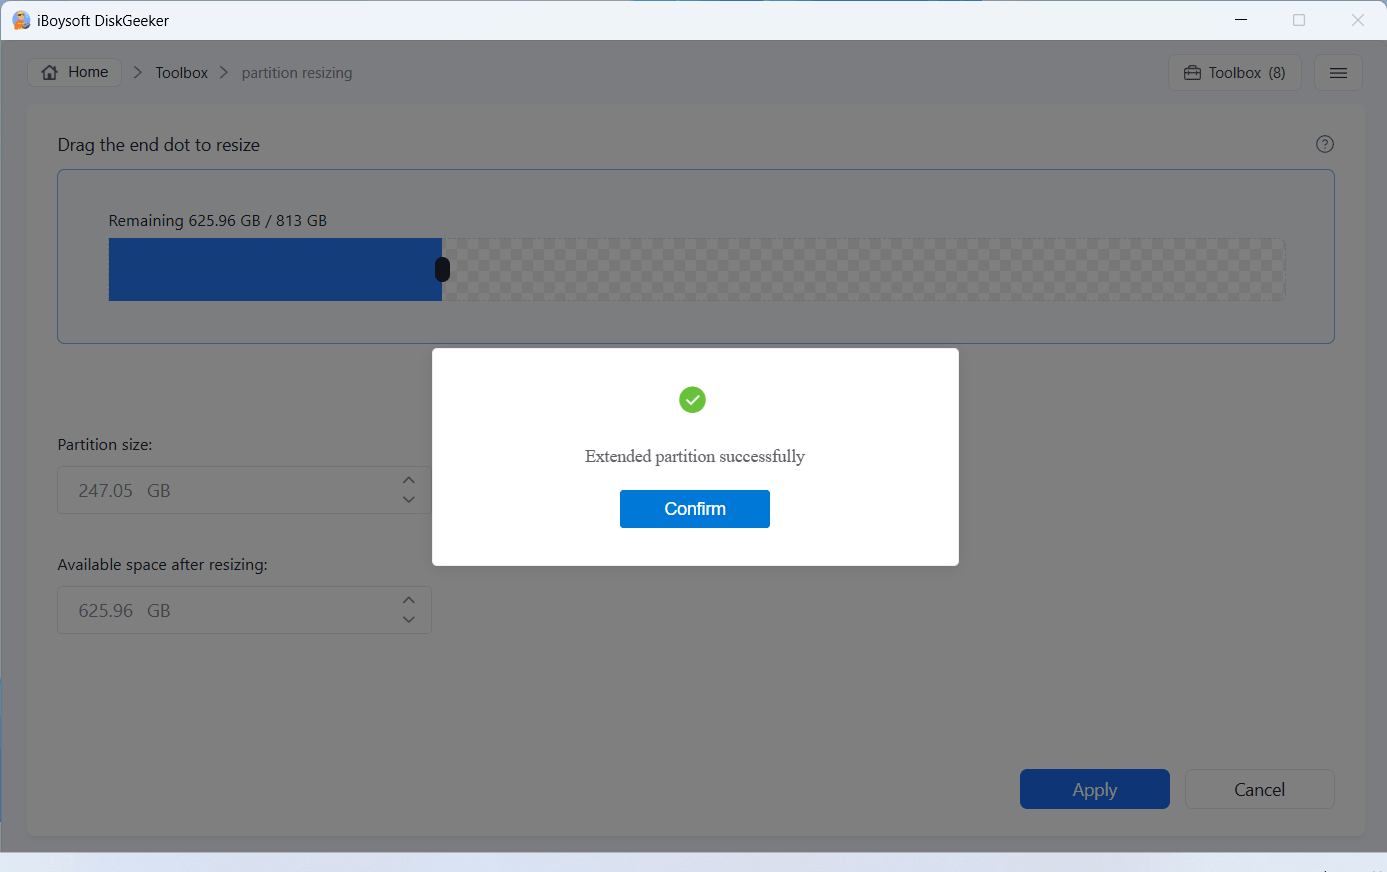
Step 7: Click "Apply" to apply the changes.
FAQ about Resizing Partition in iBoysoft DiskGeeker for Windows
1. Why does it prompt the warning after I select an NTFS partition?
If you see the "Only support to resize NTFS partition" error after choosing an NTFS partition, you probably selected a BitLocker-encrypted partition. You can check the partition info in Disk Management and turn off BitLocker temporarily to proceed with resizing.
2. Why can't I select some partitions for resizing?
iBoysoft DiskGeeker for Windows only supports resizing NTFS partitions that are not BitLocker-encrypted. It doesn't support FAT32 and exFAT partitions. Besides, the EFI partition and the Recovery partition can not be shrunk or extended either.
3. What is the maximum range of disk space that can be resized?
When you select an NTFS partition, you can see a gray area on it. It is the free space on the partition and is also the range you can shrink. And the white (transparent) area on the disk where the partition locates is the range you can extend to.
4. Why can I only shrink a partition?
When you select an partition on a disk, if there's no white (transparent) area, it means that the disk where your target partition locates doesn't have unallocated space. So, it can only be shrunk.
5. Will shrinking or extending a partition cause data loss?
It won't. The range you can shrink or extend on the selected partition is limited. When you shrink a partition, you are shrinking the free space on it. When you extend the partition, you are adding more unallocated space to it, so the data on the partition won't be changed, let alone lost.
6. Can I cancel the risizing process once it starts?
No, you can't cancel the process as long as it starts. If you want to undo the adjustment, you can shrink or extend the partition again.