
Written by
Yuri ZhangDisk partitioning /disk slicing is to create one or more areas on hard disks so as to manage information in each area separately in the Windows operation system.
The disk stores the partitions' locations and sizes where the operating system reads in the partition table. It's well known that partitioning is usually the first step to preparing a newly manufactured disk before any files or directories have been created.
Now let's delve into the essence of how to do disk partition in Windows 10 /11. (Other techniques can be found in m3datarecovery.)
The benefits of doing disk partition
Partitioning allows you to logically divide your hard disk into separate sections, each of which can be used for different purposes. For example, you might have one partition for the operating system, another for applications, and another for personal files. You can place frequently accessed files or applications on a separate partition, which may improve access times and overall system responsiveness.
By separating your data into different partitions, you can help protect it from certain types of problems. For example, if one partition becomes corrupted or infected with malware, it's less likely to affect data on other partitions. You can also use separate partitions for system files and personal data, making it easier to back up and restore important files.
Partitioning is often used to create multi-boot systems, where you can install multiple operating systems on the same disk. Each operating system can have its own partition, allowing you to choose which one to boot into when you start your computer.
Not to brag, besides the built-in Disk Management tool, iBoysoft DiskGeeker for Windows provides versatile assistance safely for disk functions such as resizing hard disks in simple ways even if you are a total computer beginner, click the button as follows to do disk partition.
Warning: It's important to back up important data before partitioning your hard disk to avoid the risk of data loss. If unlucky data loss occurs, use iBoysoft Data Recovery for Windows to retrieve them readily.
Share this indiscriminately with others.
How to do disk partition of hard disk in Windows 10 /11
While the basic steps for partitioning a hard disk are similar between Windows 10 and Windows 11, there might be some minor differences in the user interface and possibly additional features or improvements in Windows 11. Here's a step-by-step guide:
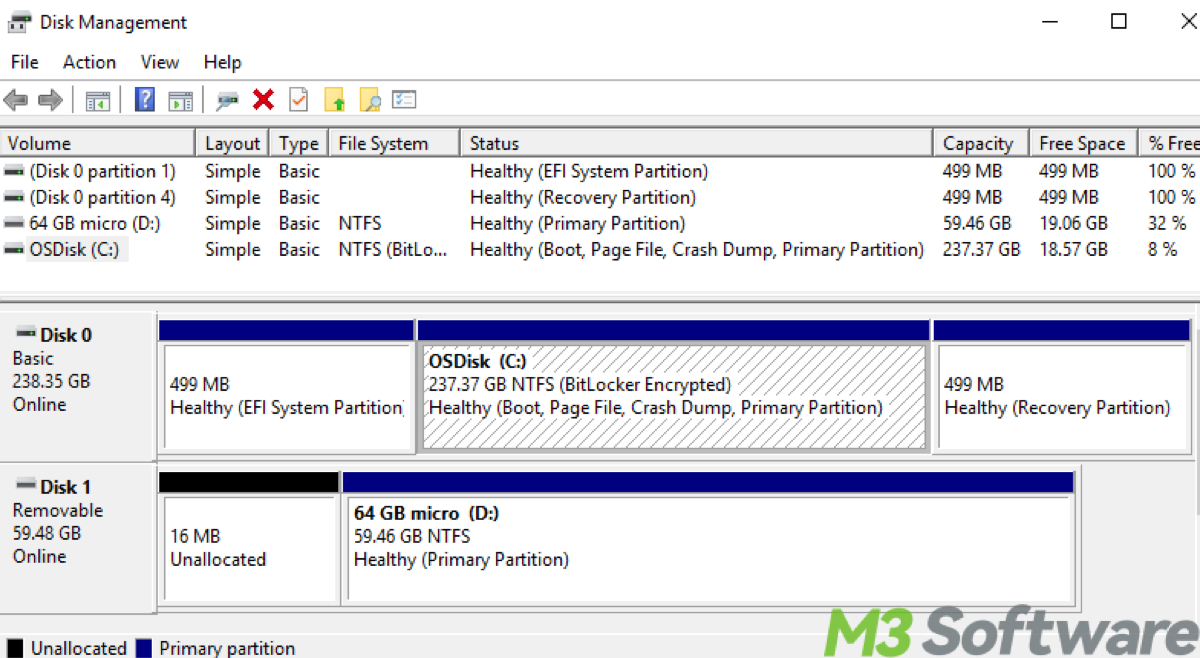
Step 1: Open Disk Management by right-click on the Start button and select "Disk Management" from the menu. In Disk Management, you'll see a list of all your connected disks. Identify the one you want to partition.
Step 2: Right-click on the partition you want to shrink to create unallocated space for a new partition. Select "Shrink Volume..." from the context menu.
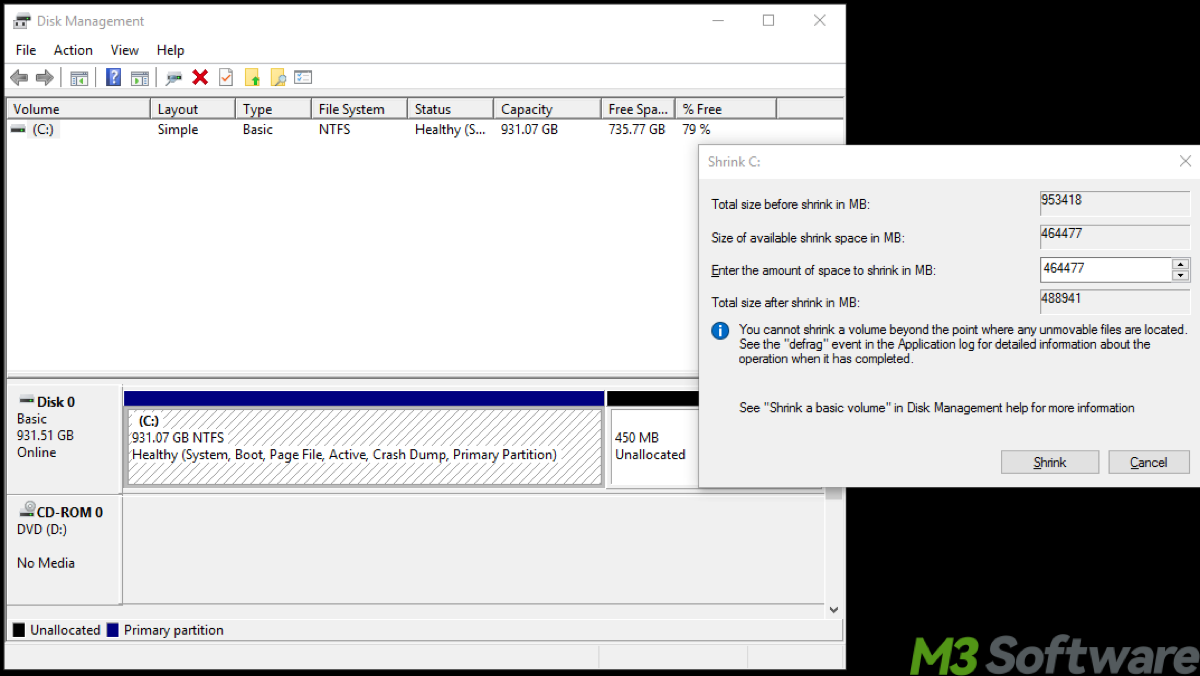
Step 3: Enter the amount of space you want to shrink the partition by in megabytes (MB). Windows will then calculate and show you the maximum amount you can shrink the partition by. Enter the desired amount and click "Shrink".
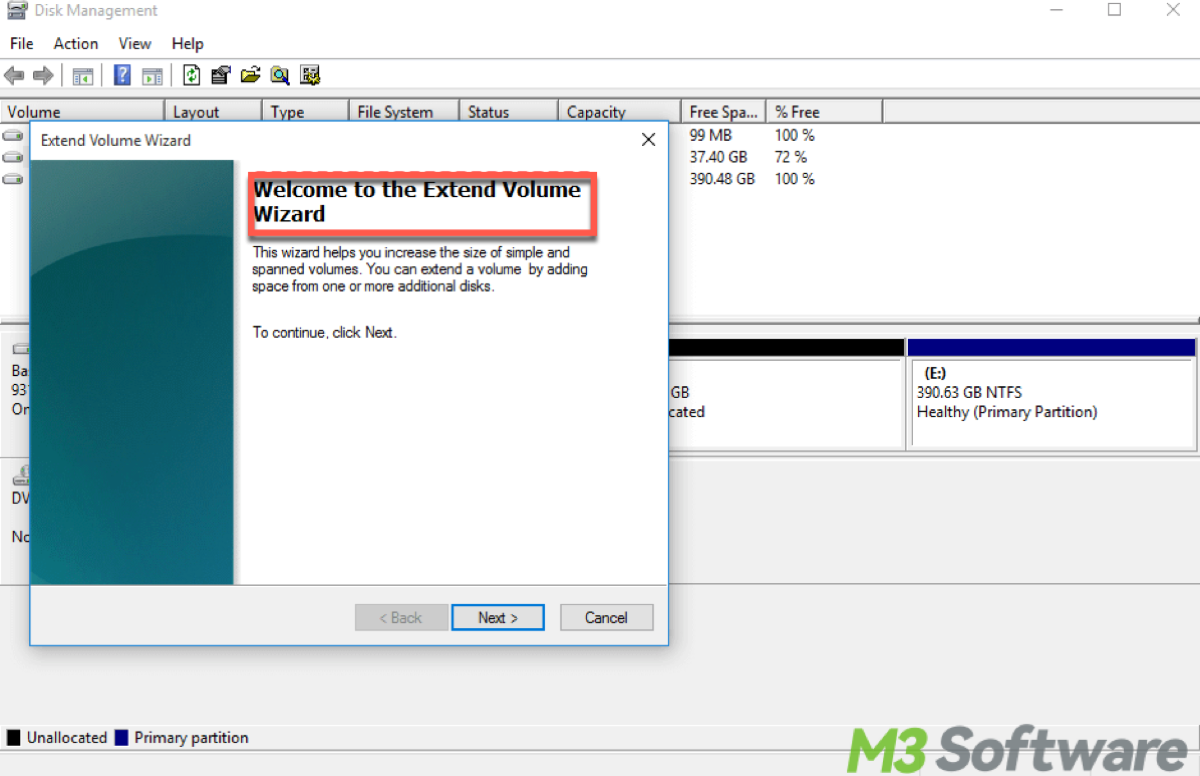
Step 4: Right-click on the unallocated space created from the shrink operation and select "New Simple Volume..." to create a new partition from the context menu.
Step 5: A wizard will be launched. Click "Next" to begin.
Step 6: Enter the size of your new partition. This can be the entire unallocated space or a portion of it. Click "Next".
Step 7: Choose a drive letter for your new partition. You can also mount it to an empty NTFS folder. Click "Next".
Step 8: Choose a file system (NTFS is recommended for Windows) and enter a volume label. You can also perform a quick format. Click "Next".
Step 9: Complete the Wizard, then review your choices and click "Finish" to create the new partition.
After completing these steps, Windows will create the new partition, format it, and assign it a drive letter. You can now use it like any other disk partition.
How to do disk partition in Windows 10 using Command Prompt
Using Command Prompt can increase the precision and speed of disk partitioning with advanced features. Partitioning a disk in Windows 10 using Command Prompt involves using the diskpart utility. Here's a detailed guide:
- Press Win + X and select "Command Prompt" (Admin) or "Windows PowerShell" (Admin) to open the command prompt.
- Type diskpart and press Enter. This will start the diskpart utility.
- Type list disk and press Enter. This will display a list of disks connected to your system. Identify the disk you want to partition based on its size.
- Type select disk X (replace X with the disk number you want to partition) and press Enter. This selects the disk you want to work with.
- To create a new partition, type create partition primary and press Enter.
- After creating the partition, you need to format it. Type format fs=ntfs quick and press Enter. This command formats the partition using the NTFS file system with a quick format.
- To assign a drive letter to the partition, type assign letter=X (replace X with the desired drive letter) and press Enter.
- Once you've completed partitioning the disk, type exit and press Enter to exit the diskpart utility.
Tips: Remember to be cautious when using diskpart, as it directly interacts with your disk configuration and can cause data loss if used incorrectly. Make sure to double-check your commands before executing them, and consider backing up important data before partitioning a disk.
Share this know-how to be a strong support!