
Written by
Yuri ZhangIt's time to put using Sticky Notes into the agenda because there is always time to forget. Demand to jot down a reminder and note is indispensable for an organized route or inspiration pool.
It directly or indirectly influences your daily workflow. With these reminders saved on it, you can use it to blueprint your future or to-do list.
Now let's go into the explicit guidance on how to open Sticky Notes in Windows 10/ 11.
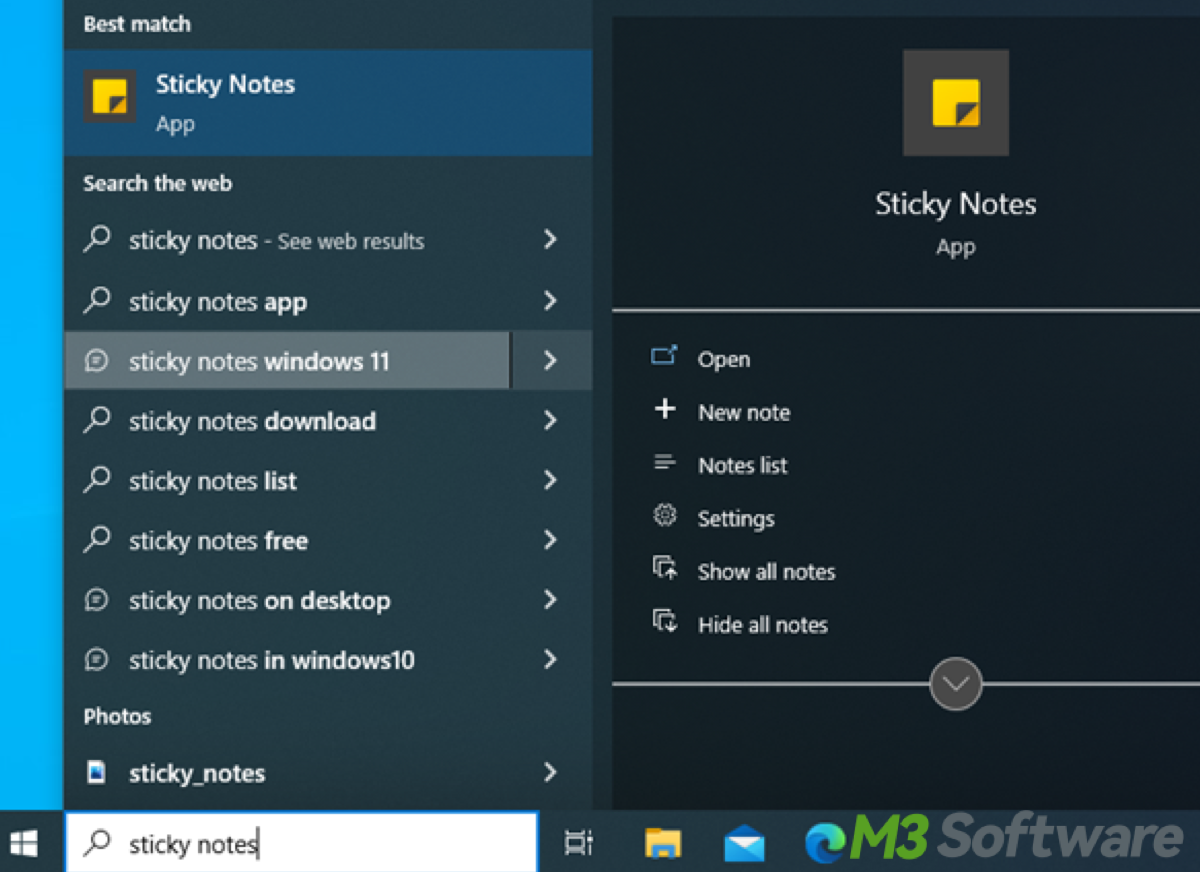
Using the Start Menu
- Press the Windows Start menu icon.
- Type "Sticky Notes" in the search box.
- Hit the Sticky Notes application from the search results
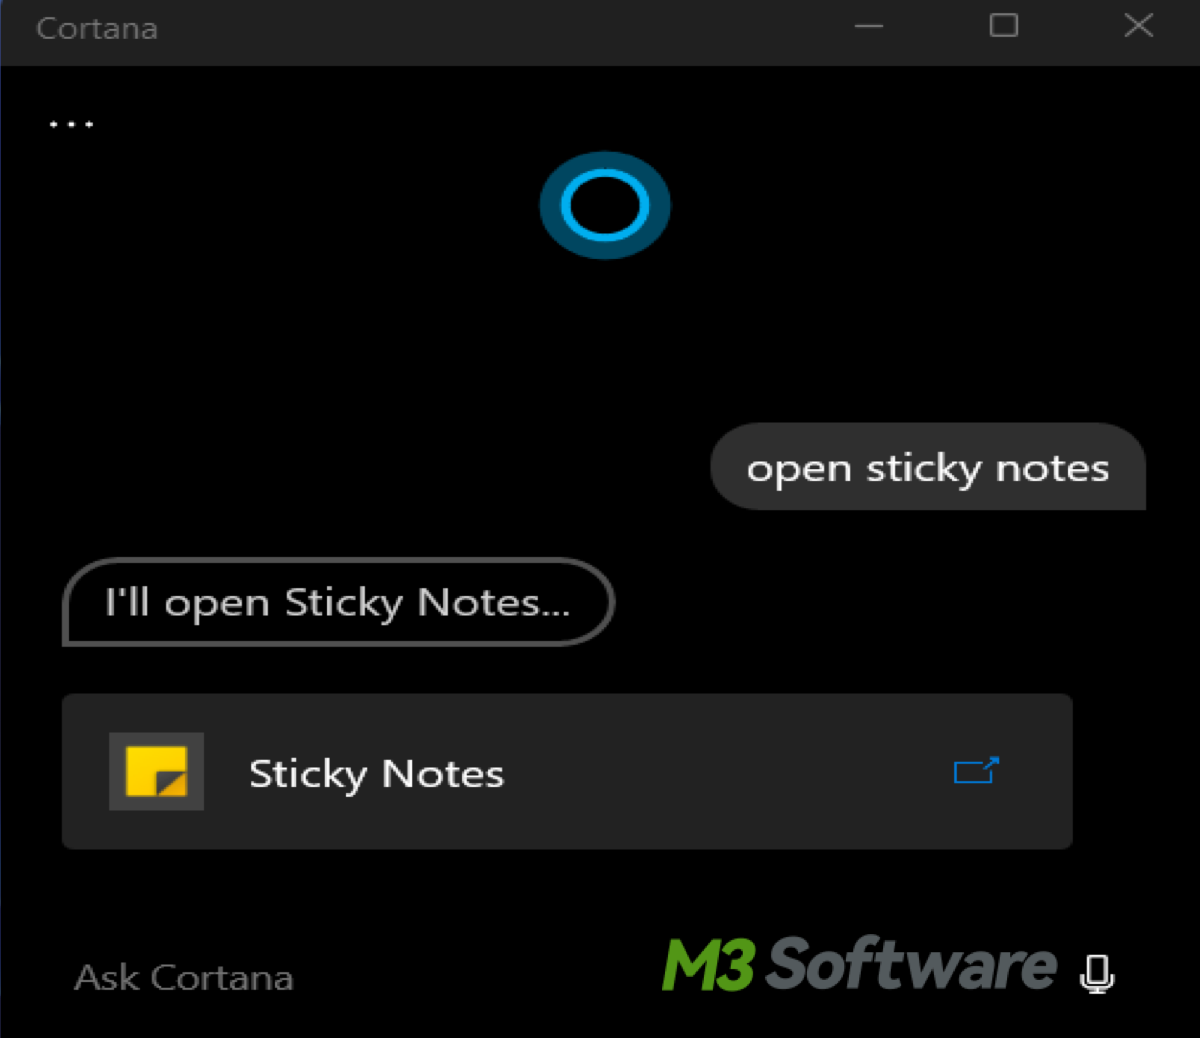
Ask Cortana to open Sticky Notes for you
Waken Cortana by saying/ calling "Hey Cortana" or just clicking on the Cortana icon in the taskbar, or shortcut key- Windows key+ S.
After Cortana reacts or responds on the PC, say a phrase like "Open/ launch sticky notes" or type your requirement: open sticky notes, then hit Enter.
Windows Ink Workspace
The Windows Ink Workspace is designed for pen-enabled devices and is accessed by keyboard shortcuts for users who prefer non-pen input methods. In the Ink Workspace, you can deal with your notes with high intensity collectively. this time all Windows beside Sticky Note's window are hidden under a layer of mask.
Press the Windows key + W, the Windows Ink Workspace will open. Options appear such as Sticky Notes, Sketchpad, Screen Sketch, and so on. Then you can click on "Sticky Notes" in the Windows Ink Workspace to open the Sticky Notes app.
Share this wealth of information to open the mind.
Tips and Tricks
You can imitate or take after its templates to perfect your notes personally and uniquely. If you pin the Sticky Notes in the taskbar, with a simple right-click on its icon, you can quickly create a new note.
For efficiency, it also provides you with sorts of shortcut keys in the Sticky Notes tool, you can memorize some common ones that abide by your preference and habit. These shortcuts are the same as the word, browsers' in daily usage.
Your notes will still be saved on the Windows desktop even if you restart the PC as long as you didn't delete them, so you don't have to force yourself to save them from time to time.
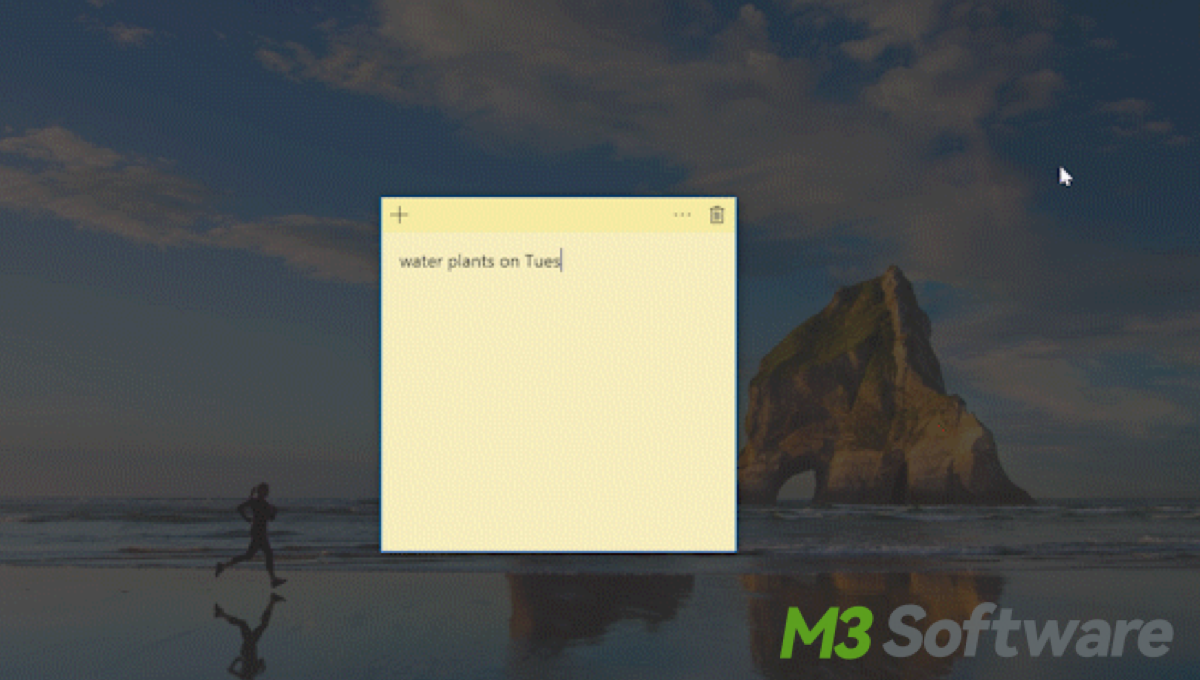
Creating a new note
To create a new note, hit the "+" (plus) icon located at the top-left corner of the Sticky Notes window. This icon typically looks like a square with a plus sign inside it. Alternatively, you can use the keyboard shortcut Ctrl + N to create a new note.
Pinning Sticky Notes to the desktop
It's meaningful in your work and life, it is more like sticky notes in real life though it's paperless and data-based in your Windows, you can easily verify, modify, and comply with whatever it says for your plan. To pin the Note, press on the title bar or anywhere within the note itself. Right-click and select "Pin to desktop."
Advanced features and customizations for a personalized experience
It's interesting to explore advanced features and customizations. Let's do an immersive experience in it. The built-in sticky note can function as follows. Highlighting some of the advanced features and customizations are available in Sticky Notes. Formatting options such as changing text size, color, and style, using ink for handwritten notes which is especially useful for touch-enabled devices, and organizing notes with different colors or categories.
Aside from basic note-taking, creating to-do lists, project plans, mood boards, or digital art using the ink features is easily instructed. Keep up with the updates and new features released for Sticky Notes to stay up-to-date with the latest improvements. By combining these strategies, a more personalized and productive workflow comes in handy. Now start your first note-taking in Windows at random.
Your feedback matters! Leave a comment down below.