
Written by
Wilsey YoungRushing into the upgrade to Windows 11 on your Windows PC without preparation may result in slow system performance, data loss, compatibility issues, etc. This post primarily explores the actions you can take before upgrading to Windows 11 operating system.
Tips: When you're ready, download the official Windows 11 25H2, 24H2, 23H2, 22H2, or 21H2 ISO file and run the installer to upgrade to Windows 11.
Things to do before upgrading to Windows 11
The following contents elaborate on what to do before upgrading to Windows 11, largely preventing the downsides that a Windows PC may encounter with a new operating system.
Ensure stable internet and power
Ensuring a stable internet connection (wireless or wired) and a power source are the first essential factors we need to pay attention to before upgrading to Windows 11, as the upgrade involves downloading big files.
Check minimum system requirements
Ensuring our Windows PC can meet the minimum system requirements is one of the crucial things to do before upgrading to Windows 11. This ensures a smooth experience during and after the system upgrade.
- Processor: 1 GHz or faster with 2 or more cores on a compatible 64-bit processor or System on a Chip.
- Storage: 64 GB or larger storage device.
- RAM: 4 GB.
- System firmware: UEFI, Secure Boot.
- TPM: Trusted Platform Module (TPM) 2.0.
- Graphics card: Compatible with DirectX 12 or later with WDDM 2.0 driver.
- Display: High definition (720p) display that is greater than 9" diagonally.
Back up important data
Although Microsoft provides built-in backup features and cloud storage services on Windows, like File History and OneDrive, manually backing up your important data is one of the critical things to do before upgrading to Windows 11.
iBoysoft DiskGeeker for Windows is a professional and intuitive disk management tool that contains a disk cloning feature, which can help make a true copy of a specific partition or entire hard disk onto a destination partition or hard disk.
In other words, the disk cloning feature in this tool not only copies all the data but also clones the partition structure and file systems, aiming to achieve 1:1 data replication. Therefore, iBoysoft DiskGeeker for Windows is perfect for data backup and file transfer.
Here's how to clone a hard disk via iBoysoft DiskGeeker for Windows:
- Download, install, and launch iBoysoft DiskGeeker for Windows.
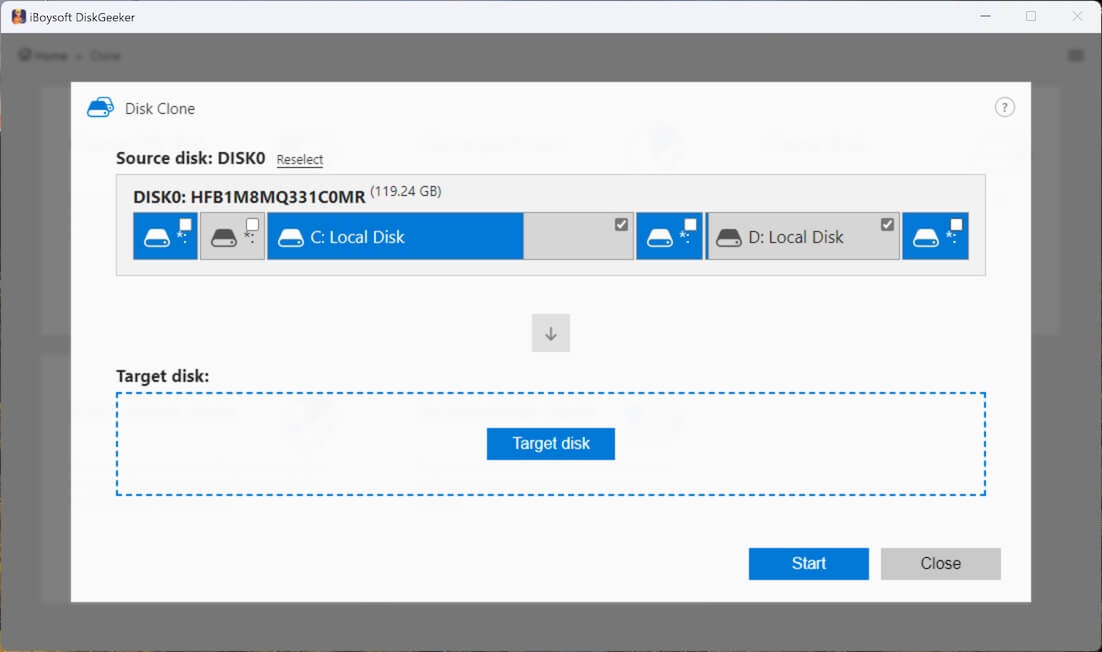
- Tap on the "Source disk" button to choose the disk where you want to copy the data from.

- The checkbox of each partition allows you to exclude a certain partition.
- Click the "Target disk" button to choose where you would like to create a clone of the source disk.
- Check the box next to "Sector-level clone" if you need a one-to-one replication. Ignore it if you just need to archive data on the drive.
- The "Ignore bad sectors" option can prevent the disk cloning from being interrupted by bad sectors.
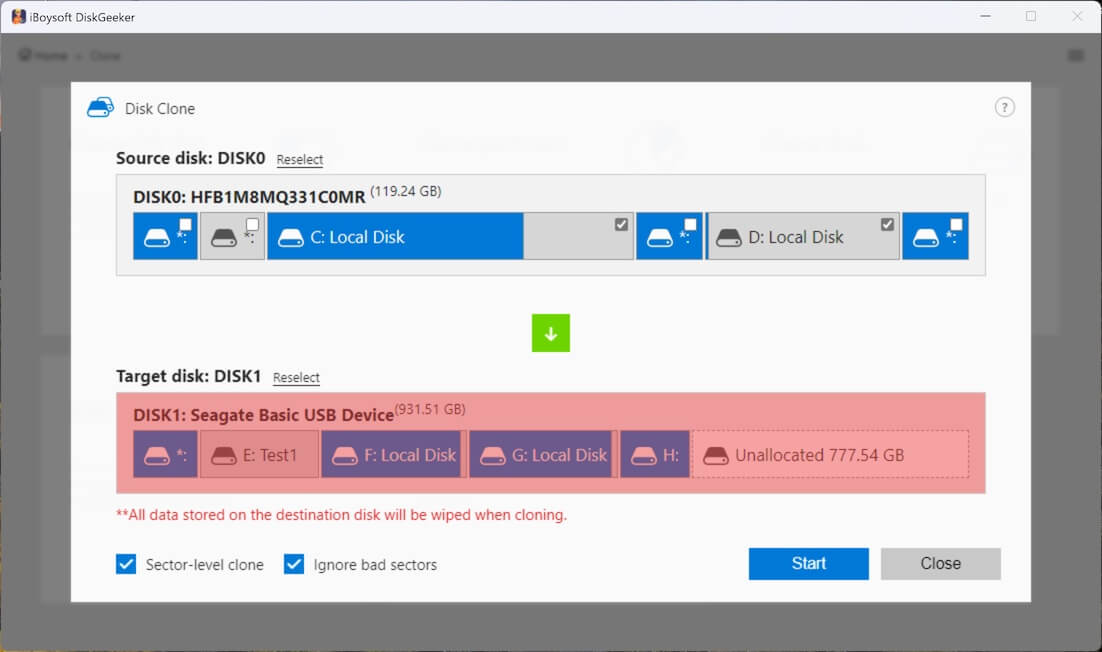
- Click "Start" and tap on "Confirm."
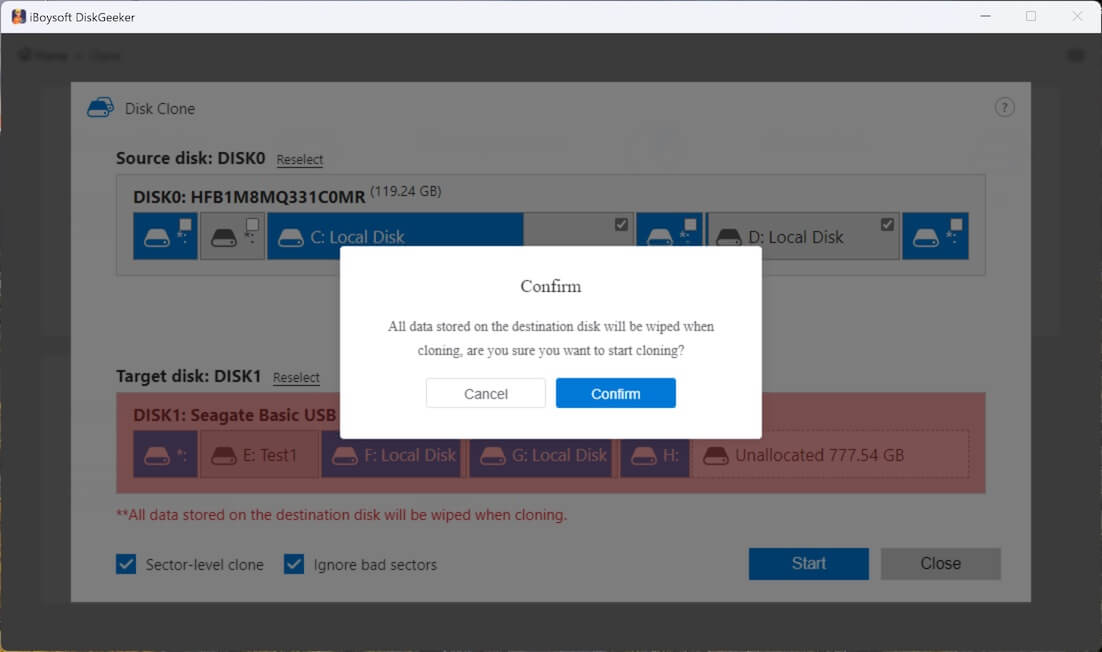
- Wait patiently.
The cloning could take several hours to complete, depending on the amount of data and the hard disk speed. For more methods to back up files on Windows 10, please refer to: 5 Best Ways to Back up Files on Windows 10 [2025 Updated]
You can share this wonderful disk management tool with your friends!
Free up disk space
Windows 11 OS requires at least 64 GB storage space, but it's recommended to have 20 to 30 GB of free space for a smooth installation and stable performance after upgrade. Therefore, cleaning up hard disk space is one of the important things to do before upgrading to Windows 11.
You can free up disk space by deleting some junk or unnecessary files on Windows 10, such as temporary files, Pagefile.sys file, Windows.edb file, thumbnail cache, Windows.old folder, etc.
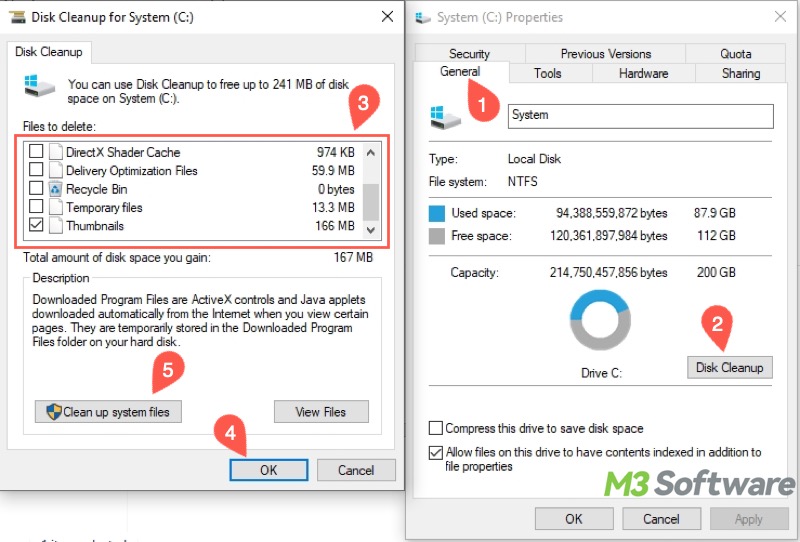
To clean up your hard disk, use the built-in Disk Cleanup tool on Windows:
- Double-click "This PC" or "My Computer" on the "Desktop."
- Right-click on the hard disk, typically Local Disk C:, and choose "Properties."
- Tap on the "Disk Cleanup" button under the "General" tab.
- Tick the files you want to remove and click "OK" to delete them.
To uninstall unused software, follow the steps below:
- Open the "Control Panel" on Windows.
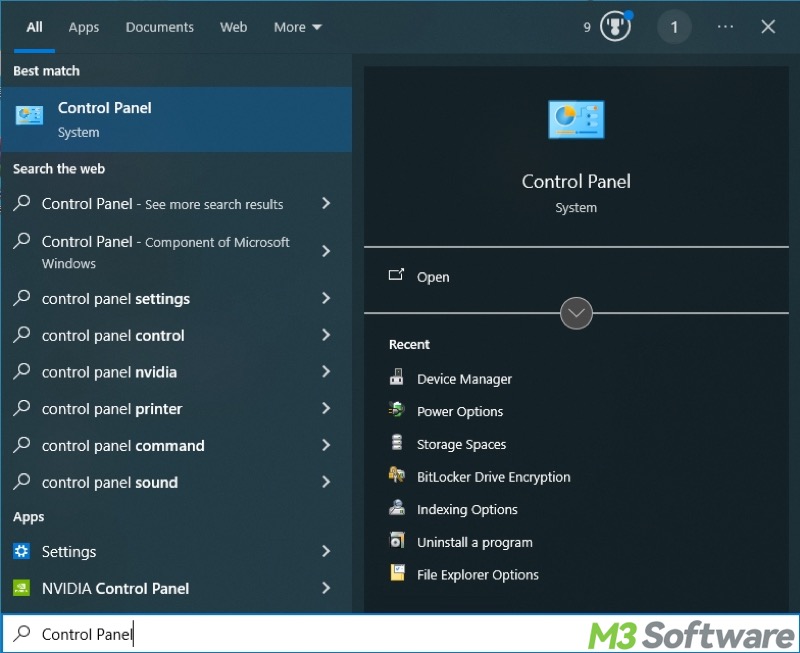
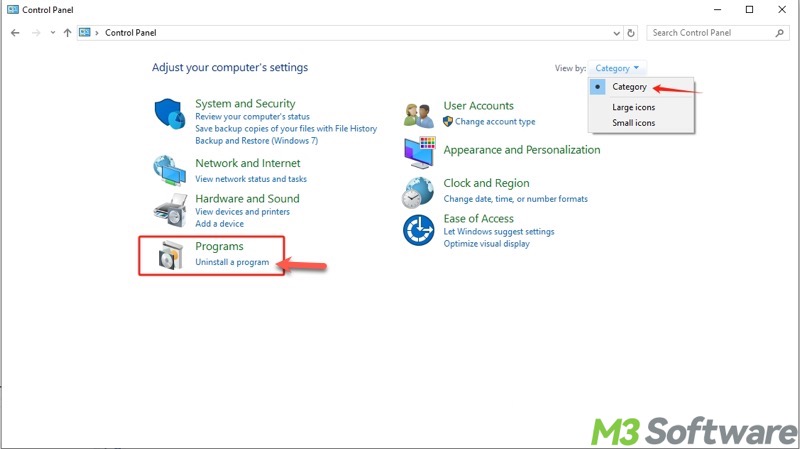
- Click "Uninstall a program" from the menu. You may need to switch the viewing mode to "Category."
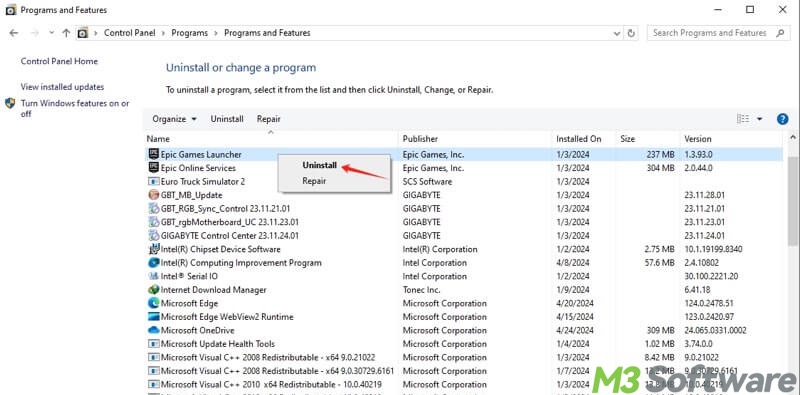
- Right-click on a software to choose "Uninstall."
Update device drivers
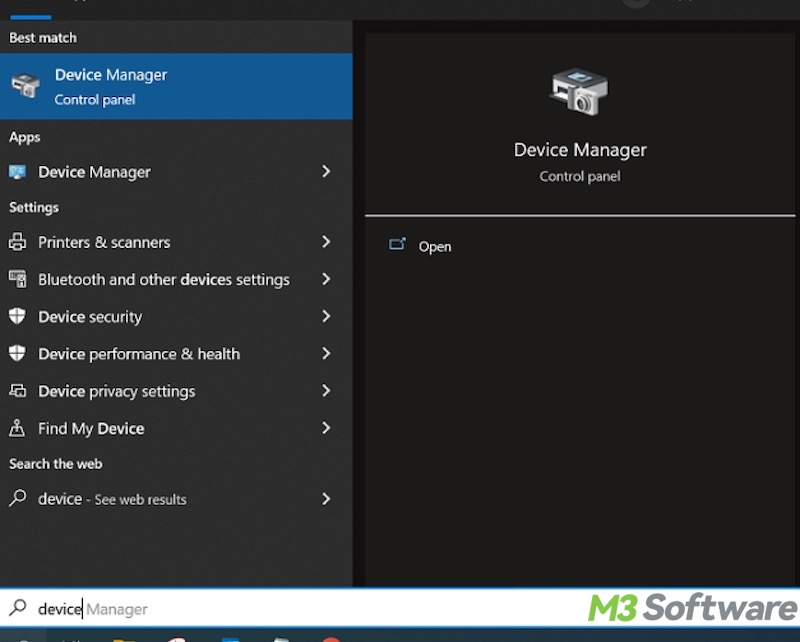
Updating the device drivers is one of the key things to do before upgrading to Windows 11, especially the display, chipset, and network drivers. Follow the steps below to update device drivers:
- Open "Device Manager" on Windows. Alternatively, right-click on the “Start” menu or press the “Windows+X” keys to choose “Device Manager.”
- Right-click on the device and choose "Update driver."

- Tap on "Search automatically for drivers."
- Windows searches and installs the driver for you.
Check compatibility of software and peripherals
You must check if some important software, such as the productivity software, and peripherals, like printers, microphones, or webcams, can work properly on Windows 11. Typically, you can do it by looking up relevant information from the official website or consulting the after-sales service.
Conclusion
To minimize the downsides and ensure a smooth transition, here are some crucial things to do before upgrading to Windows 11: ensure stable internet and power, check system requirements, free up disk space, back up important data, and update device drivers etc.
You can share this post by tapping on the following buttons
FAQs about things to do before upgrading to Windows 11
A
Yes. Something might go wrong during the system upgrade even if a Windows PC is well prepared. Therefore, always back up your important files using the built-in tools on Windows (e.g., File History or OneDrive) or a specialized tool, such as iBoysoft DiskGeeker for Windows, to avoid data loss.
A
Windows 11 requires a minimum of 64 GB of storage space, but it’s best to have 20 to 30 GB of excess space for a smooth installation. As a side note, you can free up the hard disk space by using the built-in Disk Cleanup tool on Windows. To use Disk Cleanup, right-click on the hard disk in File Explorer, choose Properties from the right-click menu, click Disk Cleanup under the General tab, and you'll be guided to tick and delete the files.
A
Yes. A stable internet connection is required to download the large essential update files and complete the setup. Additionally, if it is a laptop, plug it into a stable power source.