
Written by
Wilsey YoungSummary: This post dives into Windows Storage Sense and covers everything you are interested in. This post also shows how to turn on and configure Windows Storage Sense in Windows 10. -From m3datarecovery.com
When the hard disks run out of space on a Windows PC, what we usually do is to free up the disk space by manually deleting unwanted and junk files. However, many Windows users tend to be fed up with the frequent disk cleanup, particularly when it seems nothing can be removed from the hard disks.
Windows Storage Sense is the built-in tool on Windows that can save you time and effort in cleaning up your hard disk. What is Windows Storage Sense? What does it do? How to turn it on in Windows 10? This post offers the best answers you can find.
You can share this post with your friends
What is Windows Storage Sense
Windows Storage Sense is a built-in feature that helps you automatically free up hard disk space by deleting unnecessary files. It is noteworthy that Windows Storage Sense operates behind the scenes, and it allows users to configure when and how to clean up files.
Here we elaborate on what Windows Storage Sense can do once you enable it:
Windows Storage Sense deletes temporary files
Temporary files are generated by the system or apps that temporarily store data while performing tasks such as running programs, installing software, or updating the system. Accumulated temporary files can take up a large amount of disk space. Windows Storage Sense can help automatically remove temporary files according to your preference settings.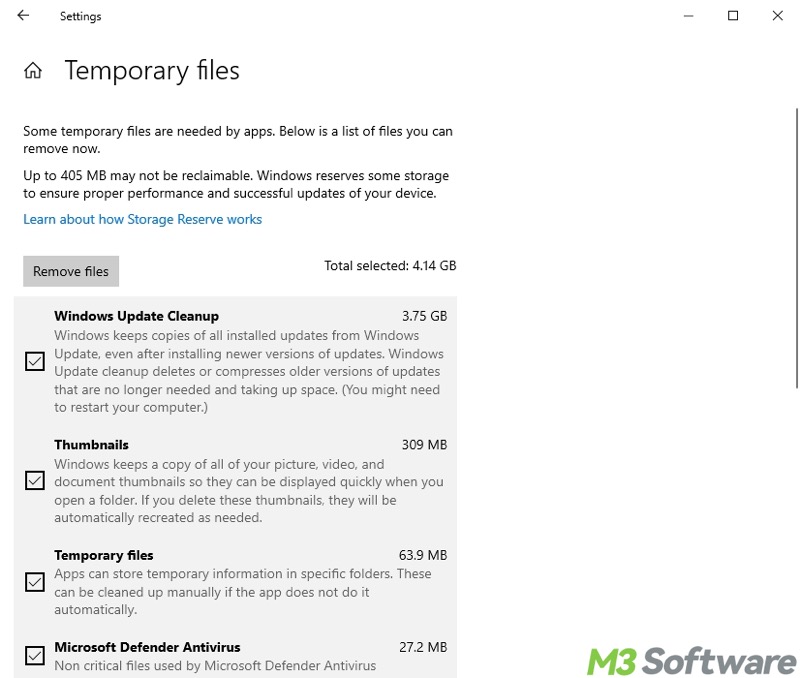
Windows Storage Sense cleans up the Downloads folder
The Downloads folder on Windows houses everything you download from the internet or other sources. Windows Storage Sense can help delete the files in the Downloads folder that haven't been accessed for a specified period.
Windows Storage Sense manages the Recycle Bin
Windows Storage Sense automatically removes files in the Recycle Bin after 30 days (by default) or the number of days you configure.
Windows Storage Sense manages OneDrive
Windows Storage Sense helps convert unused cloud files to “online-only” files to save space (these can still be seen in File Explorer and downloaded on demand).
How to turn on Storage Sense in Windows 10
You can turn on Windows Storage Sense and configure it through Settings and Local Group Policy Editor.
How to turn on Storage Sense in Windows 10 Settings
Using the Settings is the most direct and intuitive way to enable Windows Storage Sense:
- Press the "Windows+I" keys or click the gear icon in the "Start" menu to open "Settings."
- Choose "System."
- Select "Storage" from the left side panel.
- Turn on Storage Sense.
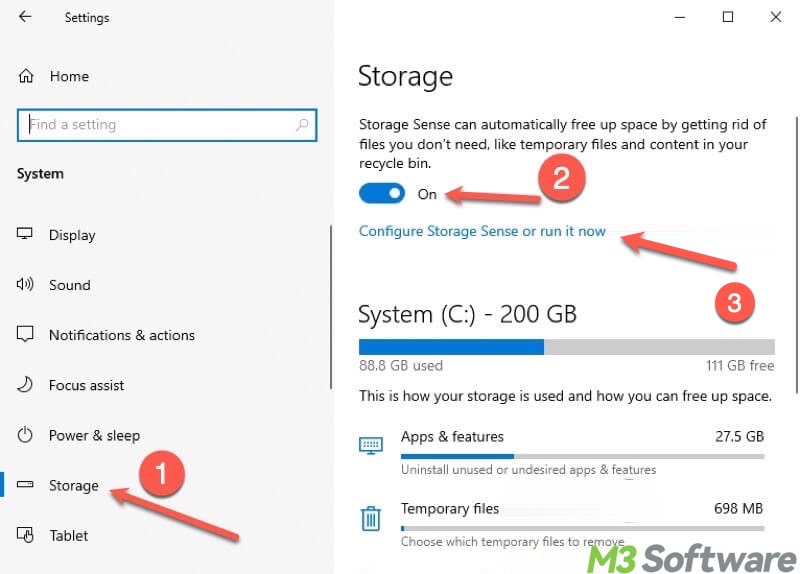
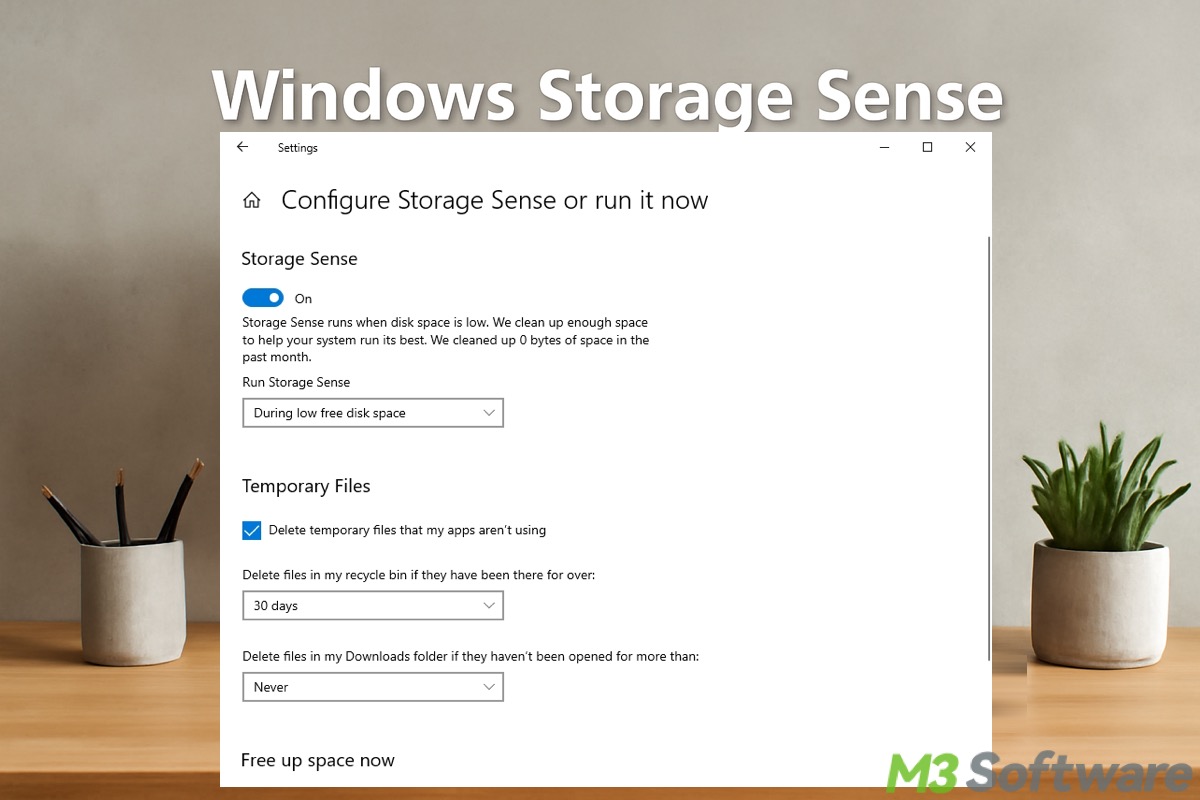
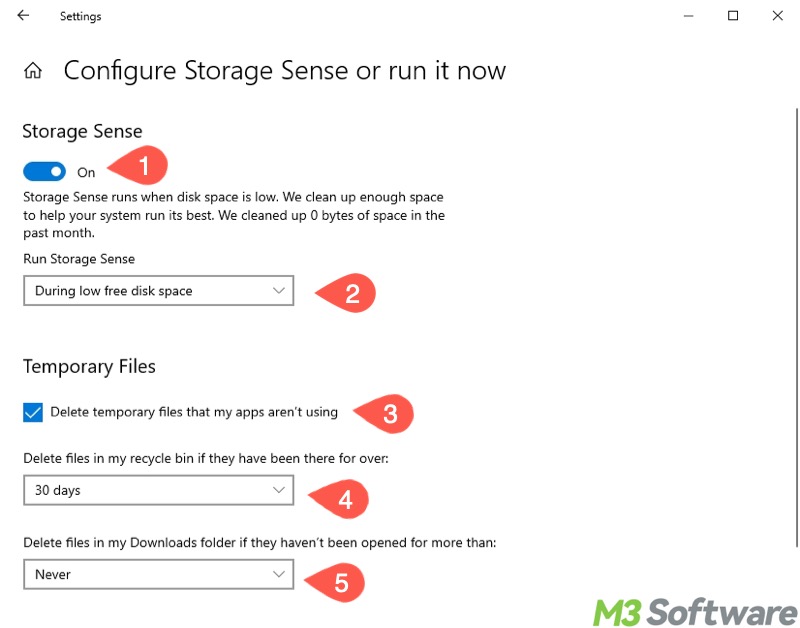
To configure Windows Storage Sense in Windows 10 Settings:
- Click "Configure Storage Sense or run it now."
- Decide when you want Storage Sense to run, and how often it deletes files in the Recycle Bin and the Downloads folder.
How to turn on Storage Sense in Windows 10 Local Group Policy Editor
The Local Group Policy Editor is a powerful management tool that allows you to configure system and user settings in a centralized way. Here's how to enable Windows Storage Sense through Local Group Policy Editor:
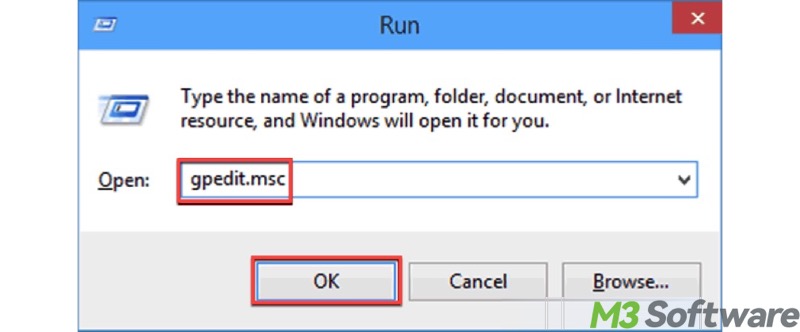
- Press the “Windows+R” keys to launch the “Run” dialog box, type “gpedit.msc” in it, and click “OK.”
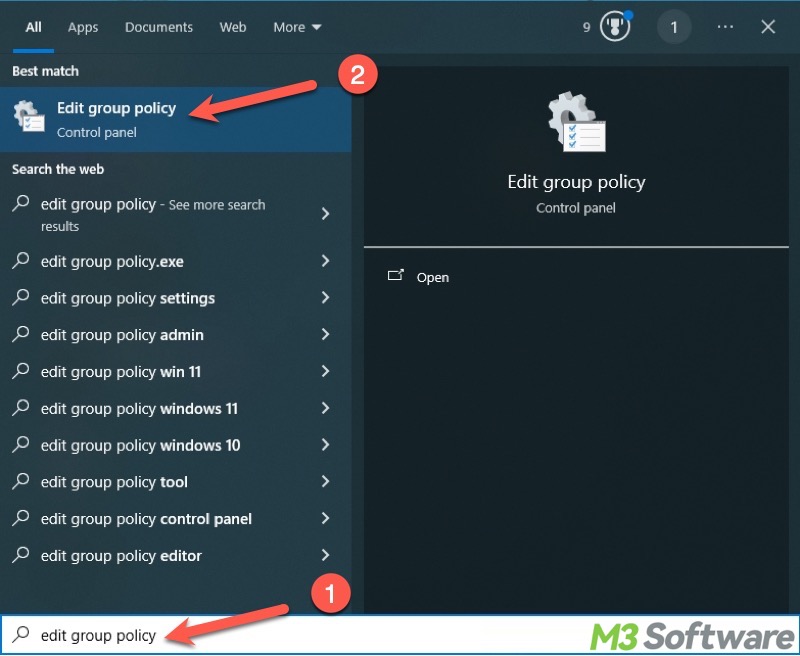
- Alternatively, press the "Windows+S" keys to launch the Windows search box, type "edit group policy" in the search box, and click the result.
- Locate the Storage Sense folder by following the path: Computer Configuration > Administrative Templates > System > Storage Sense.
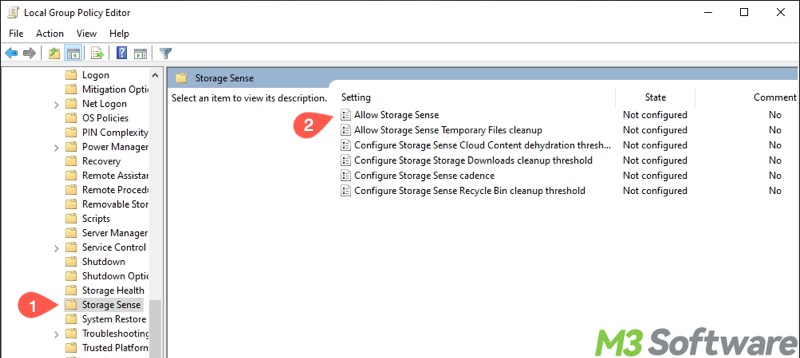
- Double-click "Allow Storage Sense" in the right pane, choose "Enabled", and click "Apply" and "OK."

To configure Windows Storage Sense in Windows 10 Local Group Policy Editor:
- Double-click "Allow Storage Sense Temporary Files cleanup", choose "Enabled."
- Configure the settings based on your needs, then click "Apply" and "OK."
- Double-click other settings and follow the steps above to set up your preference.
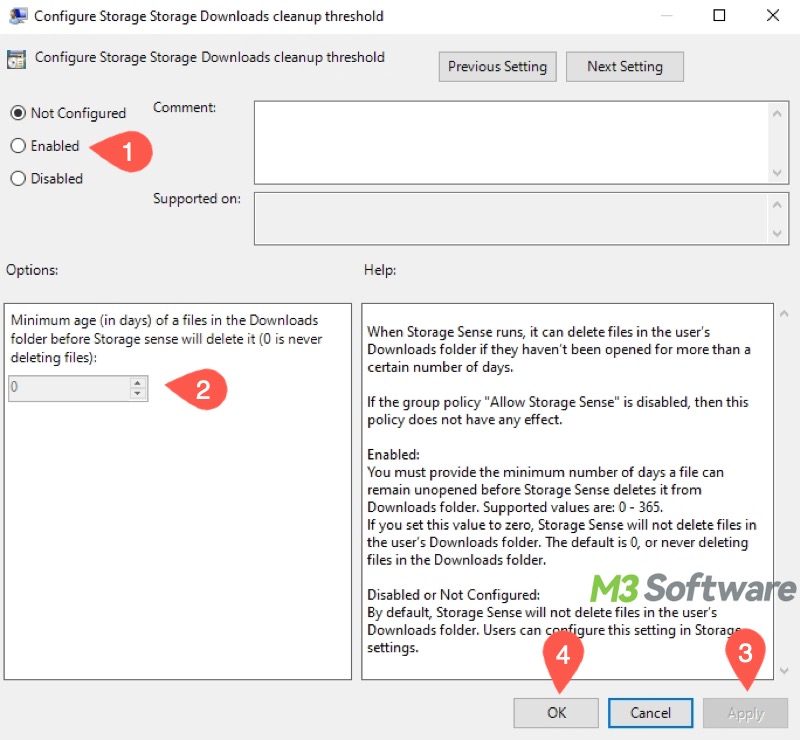
- The “Configure Storage Sense Downloads cleanup threshold” allows you to decide the minimum number of days a file in the Downloads folder before Windows Storage Sense will delete it.
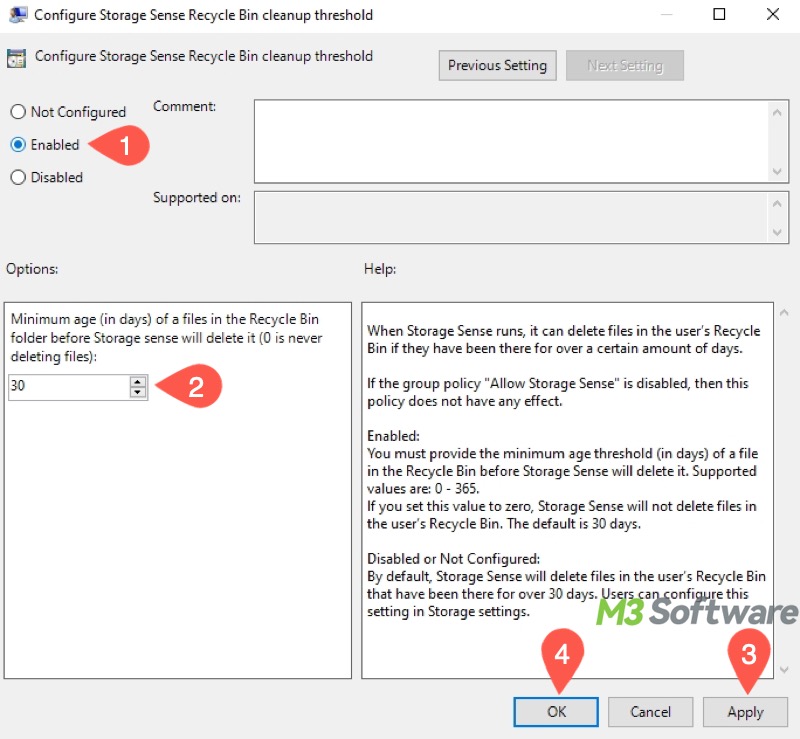
- Enable “Configure Storage Sense Recycle Bin cleanup threshold” and decide how often you want Windows Storage Sense to delete the files in the Recycle Bin.
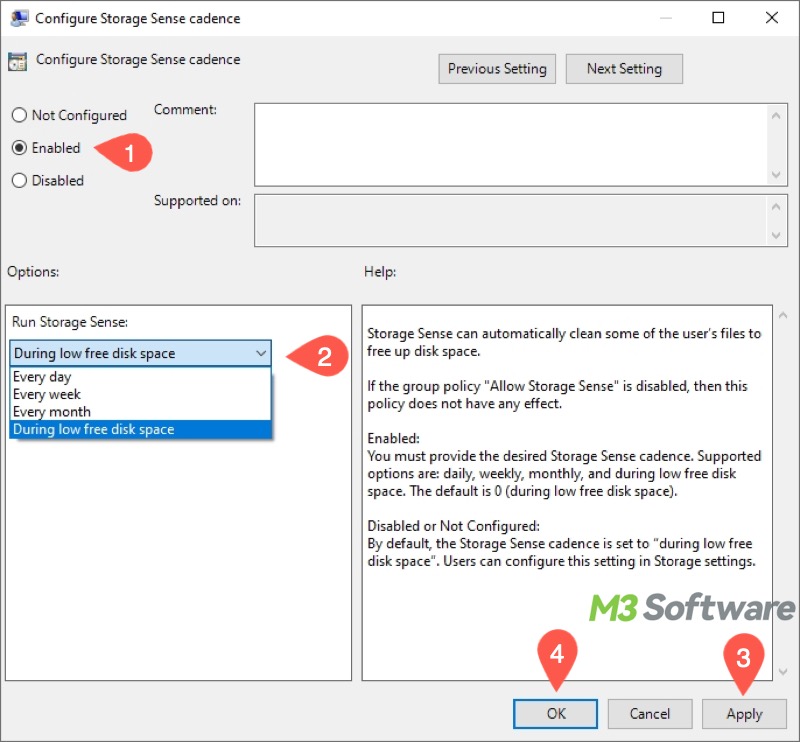
- Enable “Configure Storage Sense cadence” determines when you want Windows Storage Sense to function.
Conclusion
Every coin has two sides. Windows Storage Sense is a great assistant if you don't care much about the temporary files in Windows. However, Windows Storage Sense may accidentally delete the files you don't want to lose. Though running in the background, Windows Storage Sense may sometimes impact system performance.
What do you make of Windows Storage Sense? You can share this post with your friends!